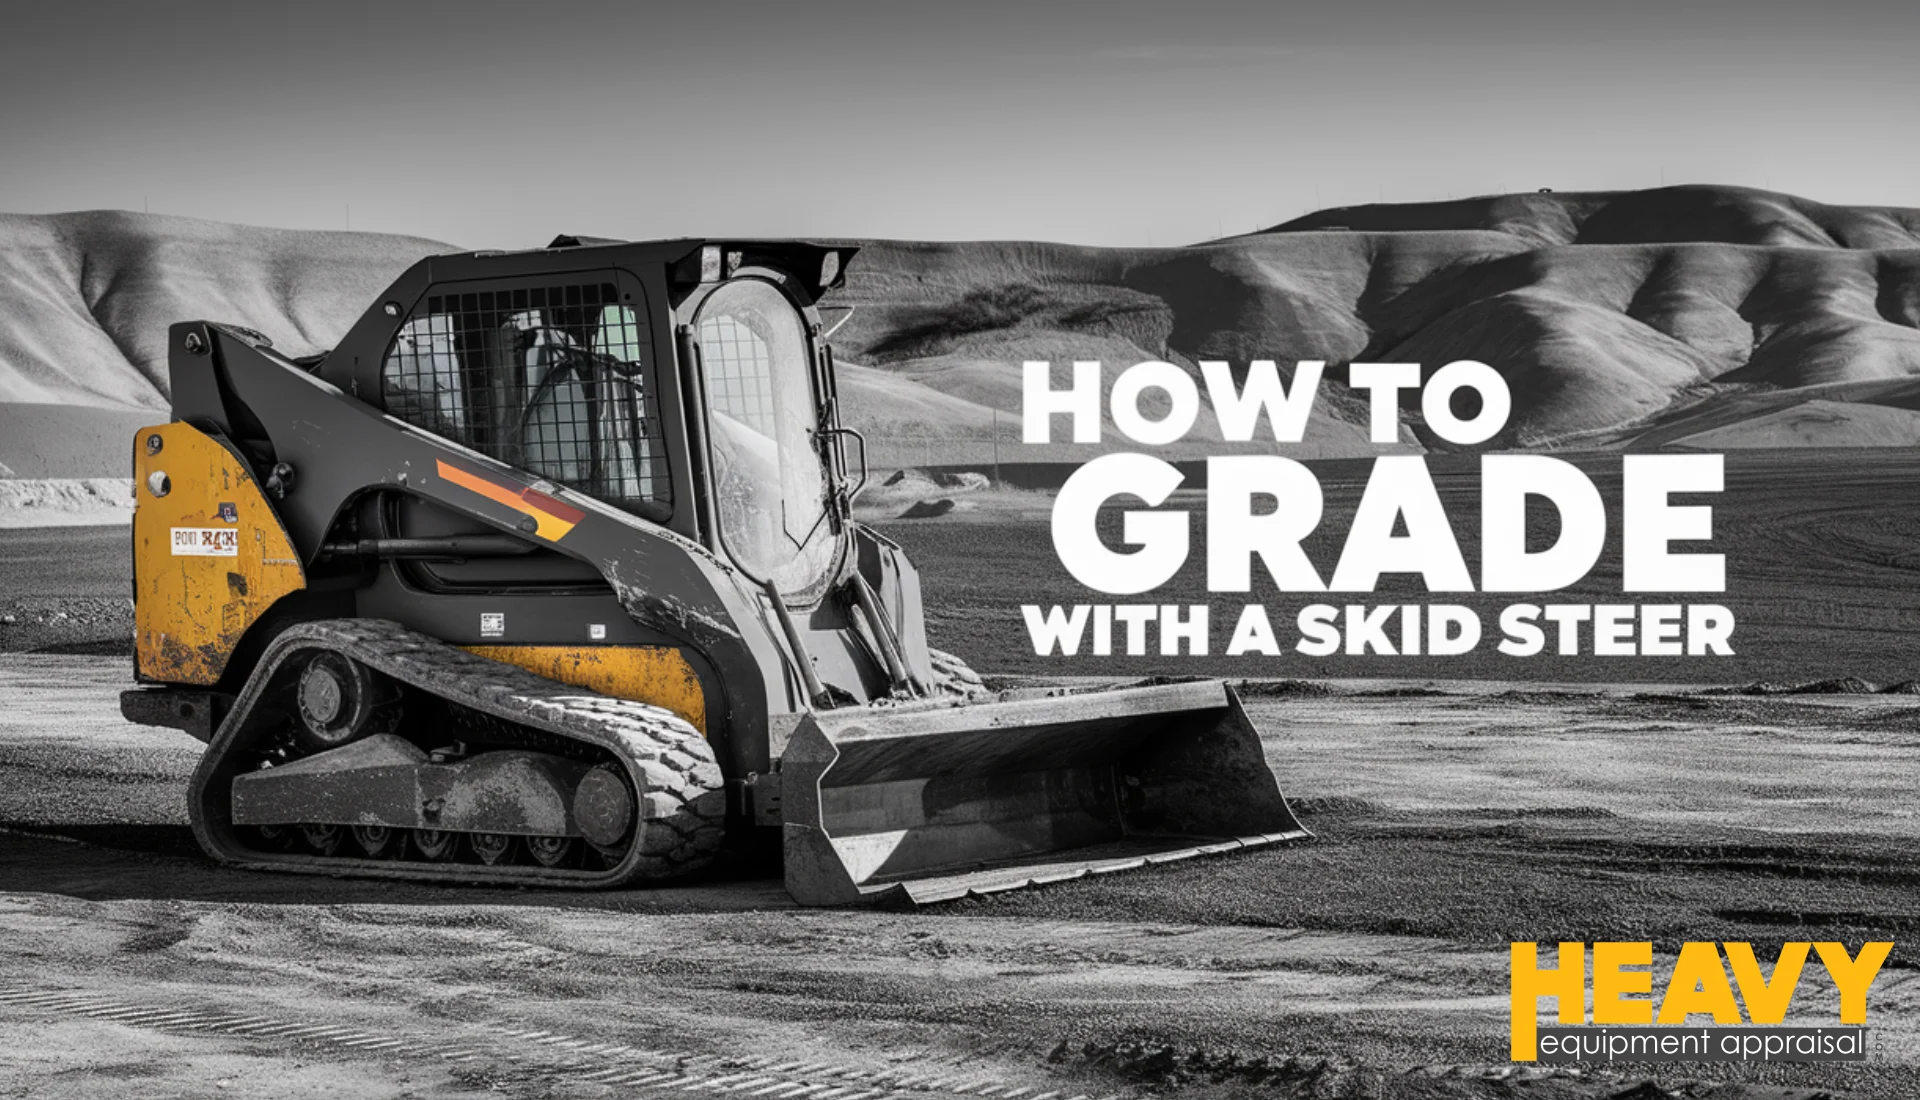
How to Grade with a Skid Steer: 6-Step Process for Perfect Results
Forget what equipment dealers say about needing a dedicated motor grader for “real” grading. With the right attachment—box blade for precision or land leveler for aggressive work—a skid steer can handle most residential and light commercial jobs. Knowing how to grade with a skid steer turns your compact machine into a powerhouse that pays for itself on projects under 10,000 square feet.
Grade with a skid steer by starting on the highest point, lowering the bucket slightly, and dragging material toward lower areas. Use smooth, overlapping passes and adjust the bucket tilt to control depth. Finish by backdragging in reverse to level and smooth the surface evenly.
Basics of Grading with a Skid Steer
Grading with a skid steer involves using the machine's bucket or specialized attachments to manipulate the ground and achieve a desired level or slope. Skid steers shine in small to medium-sized grading projects where their maneuverability really pays off.
Think tight spaces around buildings, driveways, and landscaping features where those bigger machines simply can't fit.
For context, when we talk about "small to medium" projects, we're typically looking at areas under 10,000 square feet. Once you get much larger than that, you might want to consider a motor grader or dozer - unless, of course, you enjoy spending extra hours in the cab.
Skid Steer Selection
When choosing a skid steer for grading, terrain is everything. You wouldn't bring dress shoes to a muddy jobsite, right? Same principle applies here.
flowchart TD
    A["What type of terrain?"] --> B["Hard/Compact Surfaces"]
    A --> C["Wet/Muddy Surfaces"]

    B --> B1["Pavement, Concrete, Packed Soil"]
    C --> C1["Poor Drainage, Construction Sites"]

    B1 --> D["Wheeled Skid Steer"]
    C1 --> E["Track Loader"]

    D --> D1["Better speed & maneuverability"]
    D --> D2["Won't damage finished surfaces"]

    E --> E1["Better traction & flotation"]
    E --> E2["Less ground pressure"]

    subgraph Size Selection
        F["Small Frame"]
        G["Medium Frame"]
        H["Large Frame"]

        F --> F1["3,000-6,000 lbs \| ROC: 760-1,550 lbs"]
        G --> G1["6,000-7,000 lbs \| ROC: 1,750-2,200 lbs"]
        H --> H1["7,000-12,000 lbs \| ROC: >2,200 lbs"]
    end

    classDef question fill:#4682b4,stroke:#333,stroke-width:2px,color:white
    classDef terrain fill:#3cb371,stroke:#333,stroke-width:2px,color:white
    classDef machine fill:#1e90ff,stroke:#333,stroke-width:2px,color:white
    classDef benefit font-style:italic,font-size:14px
    classDef size fill:#d67d3e,stroke:#333,stroke-width:2px,color:white
    classDef specs font-size:14px

    class A question
    class B,C terrain
    class B1,C1 terrain
    class D,E machine
    class D1,D2,E1,E2 benefit
    class F,G,H size
    class F1,G1,H1 specs
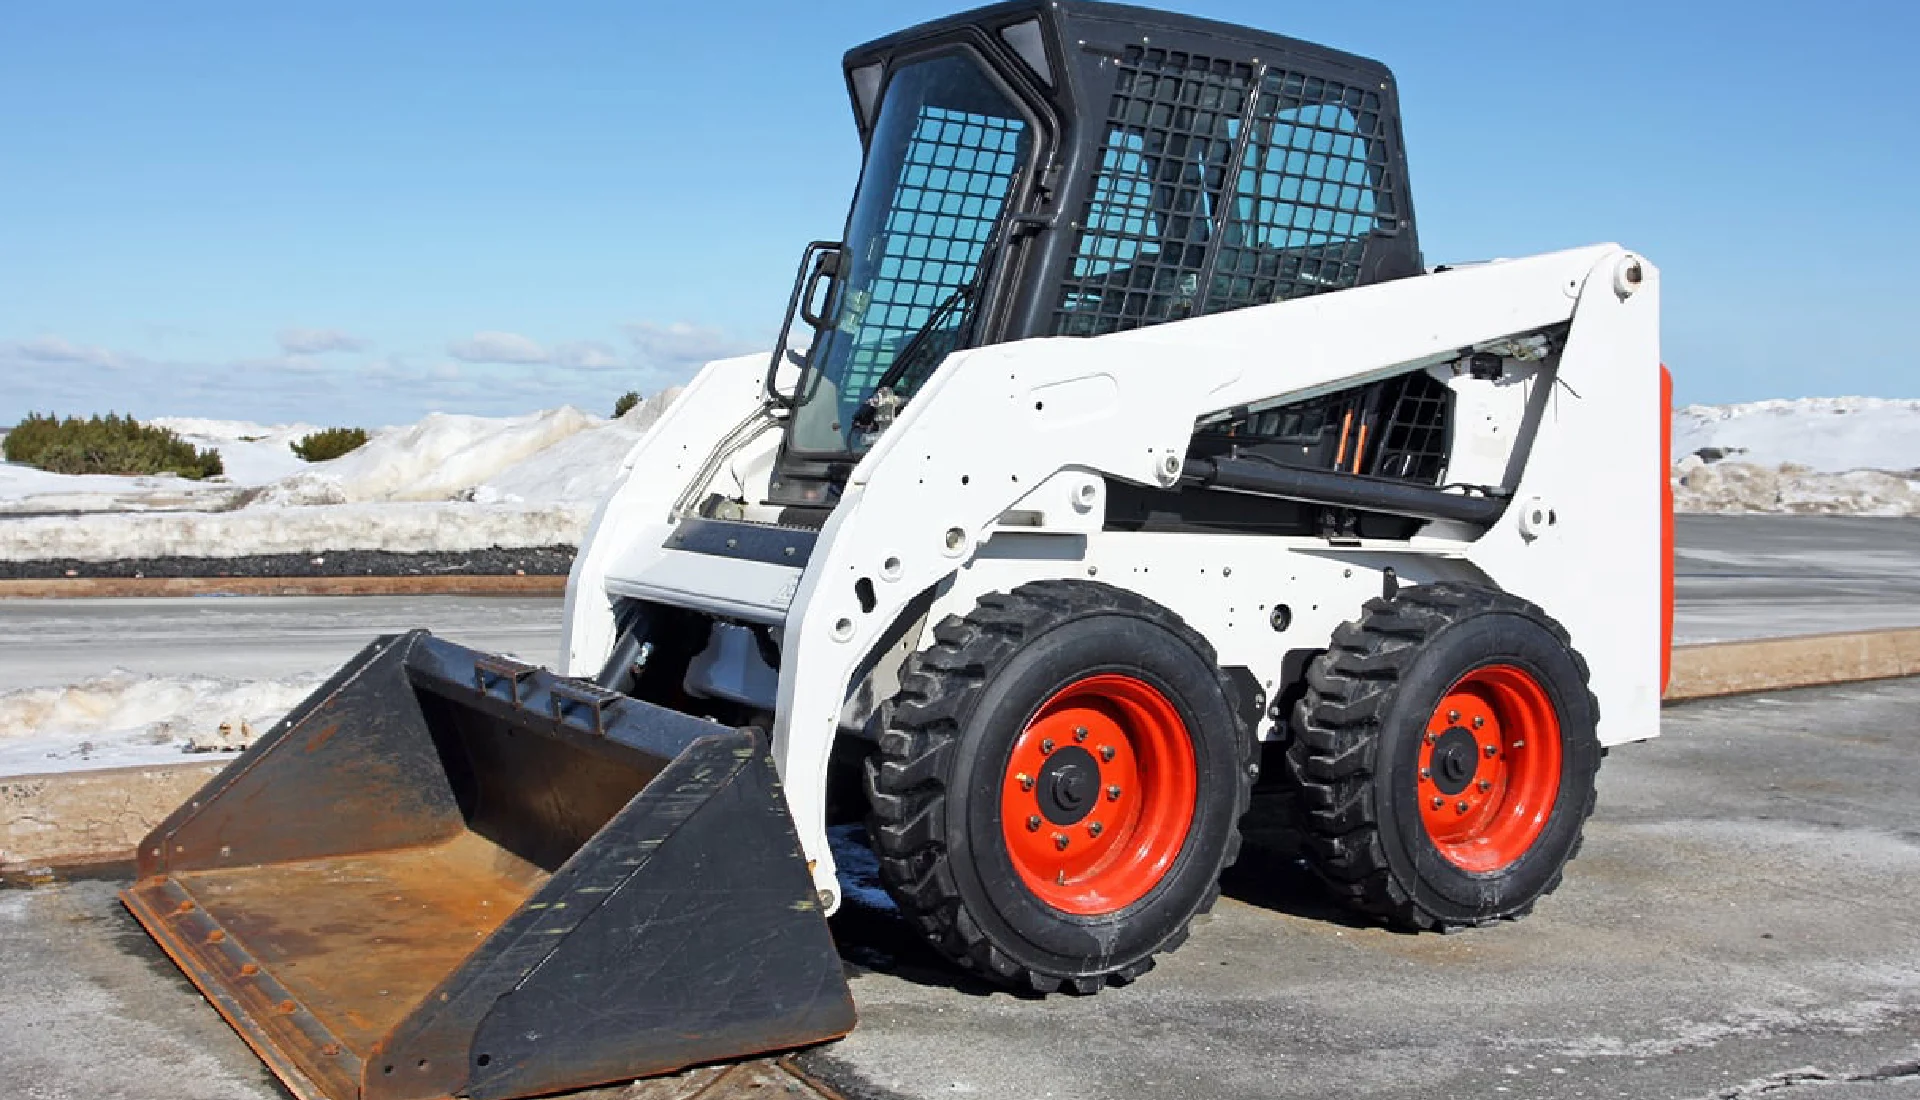
Wheeled skid steers are your go-to for hard or compact surfaces - pavement, asphalt, concrete, and well-packed soil. They move faster, turn quicker, and won't tear up finished surfaces like their tracked cousins might. If you're primarily grading soil and dirt on relatively dry sites, wheels will serve you well.
Track loaders, on the other hand, are the mud masters. They'll keep you moving when wheeled machines would be spinning hopelessly or, worse, sinking. Better traction on wet or muddy surfaces means you can keep working even when Mother Nature hasn't been cooperative. Construction sites with poor drainage? Track loaders all day.
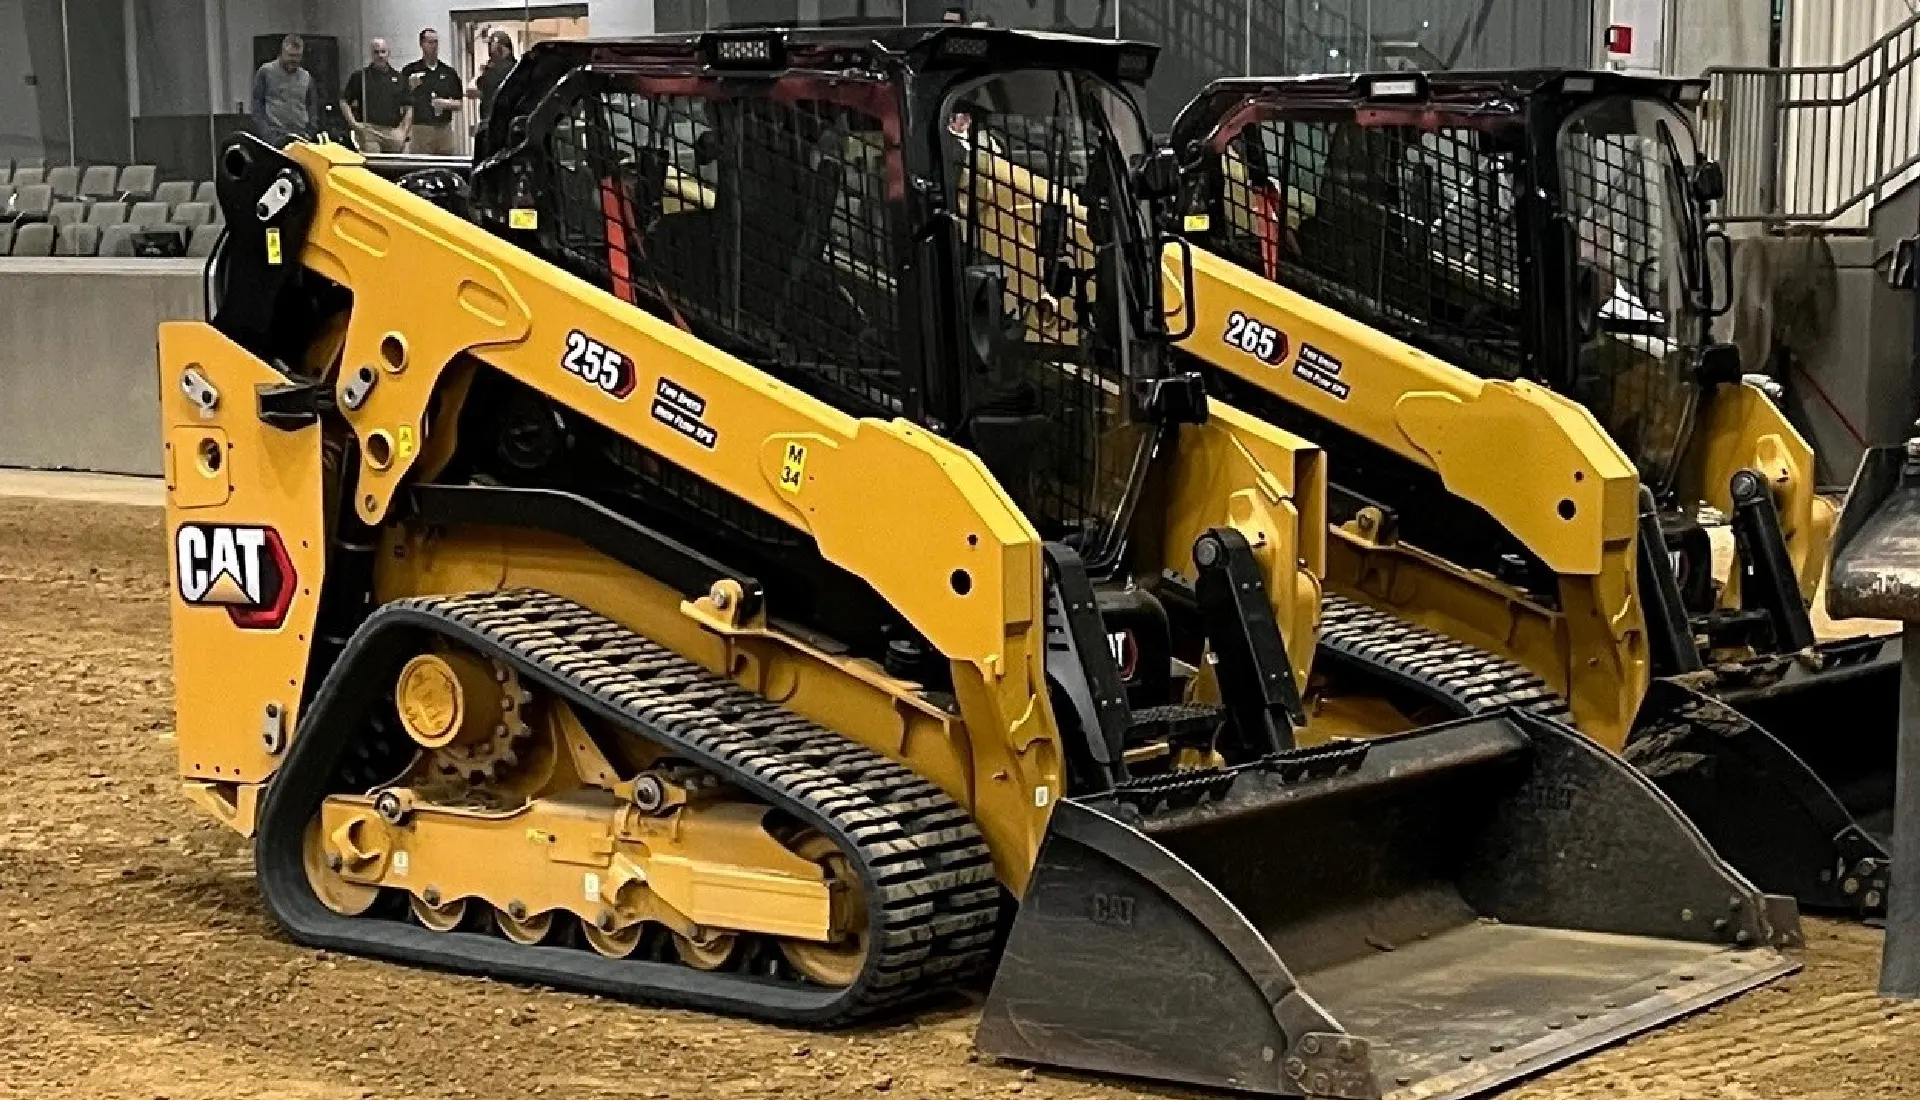
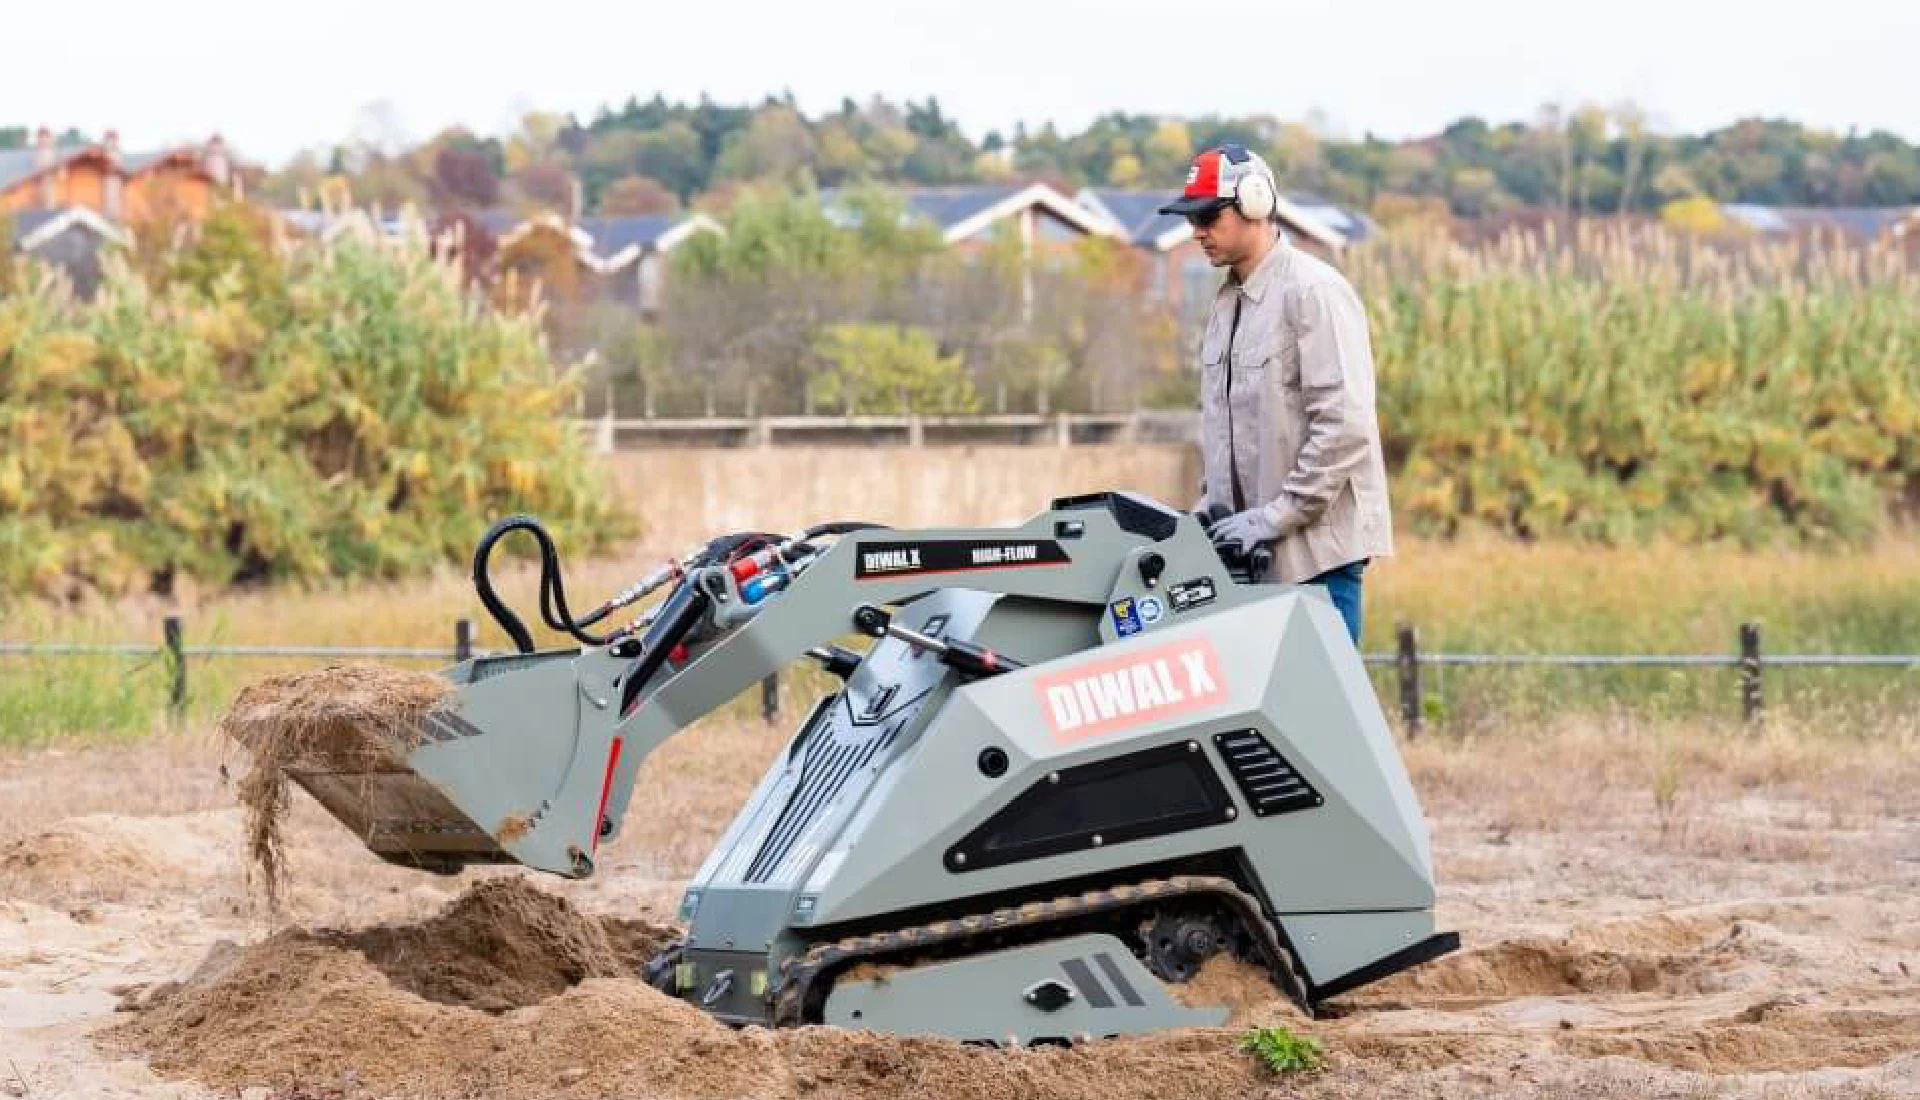
Skid Steer Sizes
Not all skid steers are created equal, and size really does matter for grading applications. Here's your skid steer size breakdown:
Small-frame models
Small-frame models typically weigh between 3,000 and 6,000 pounds with a rated operating capacity (ROC) of 760 to 1,550 pounds. These are your precision instruments - perfect for tight spaces and finishing work, but don't expect them to move mountains.
Medium-frame models
Medium-frame models hit the sweet spot for many contractors, weighing between 6,000 and 7,000 pounds with an ROC of 1,750 to 2,200 pounds. Versatile enough for most grading projects without breaking the bank on fuel or transportation.
Large-frame models
Large-frame models are the heavyweights, coming in between 7,000 and 12,000 pounds with ROCs exceeding 2,200 pounds. When there's serious earth to move or you're working with challenging materials, these machines earn their keep.
The right size depends on your typical projects, but remember - bigger isn't always better. A machine that's too large can be overkill, burning extra fuel and potentially causing more surface damage than necessary. Match the machine to the job, not your ego.
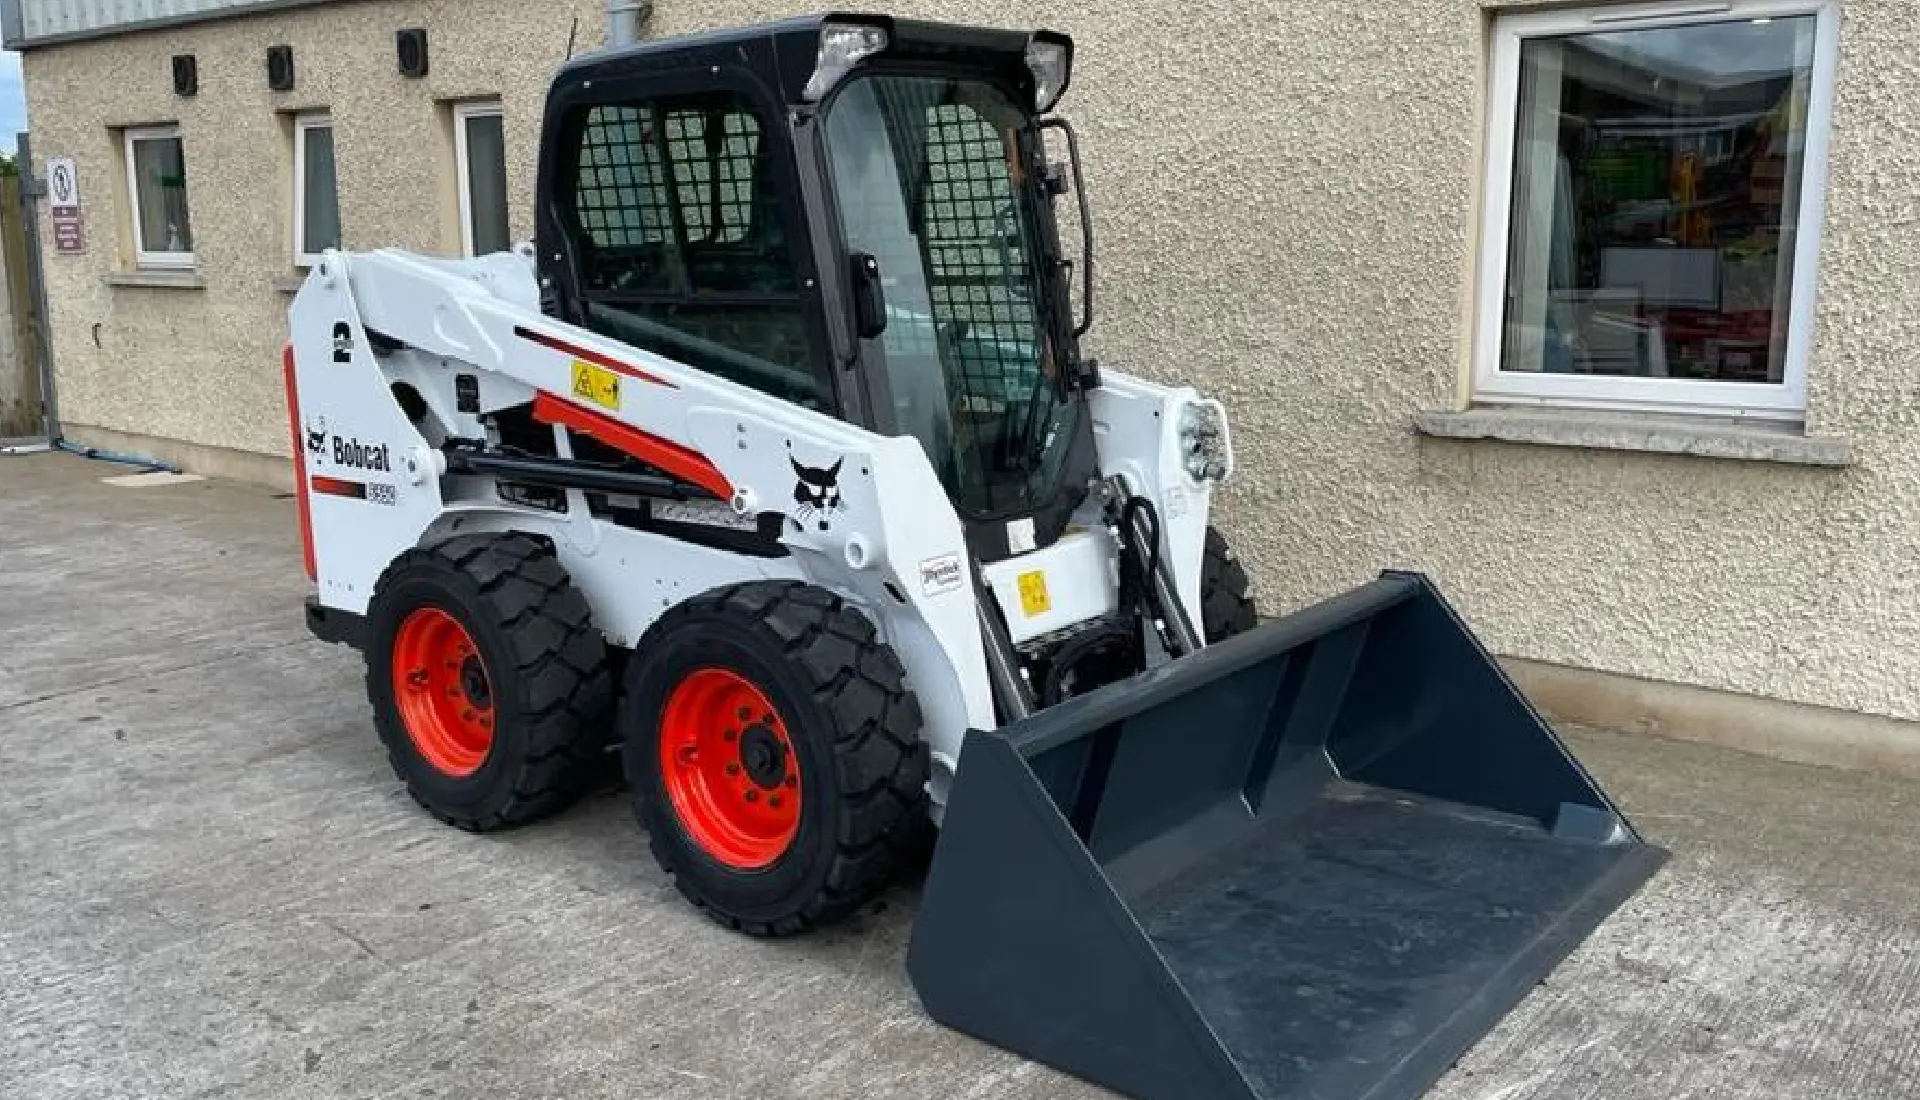
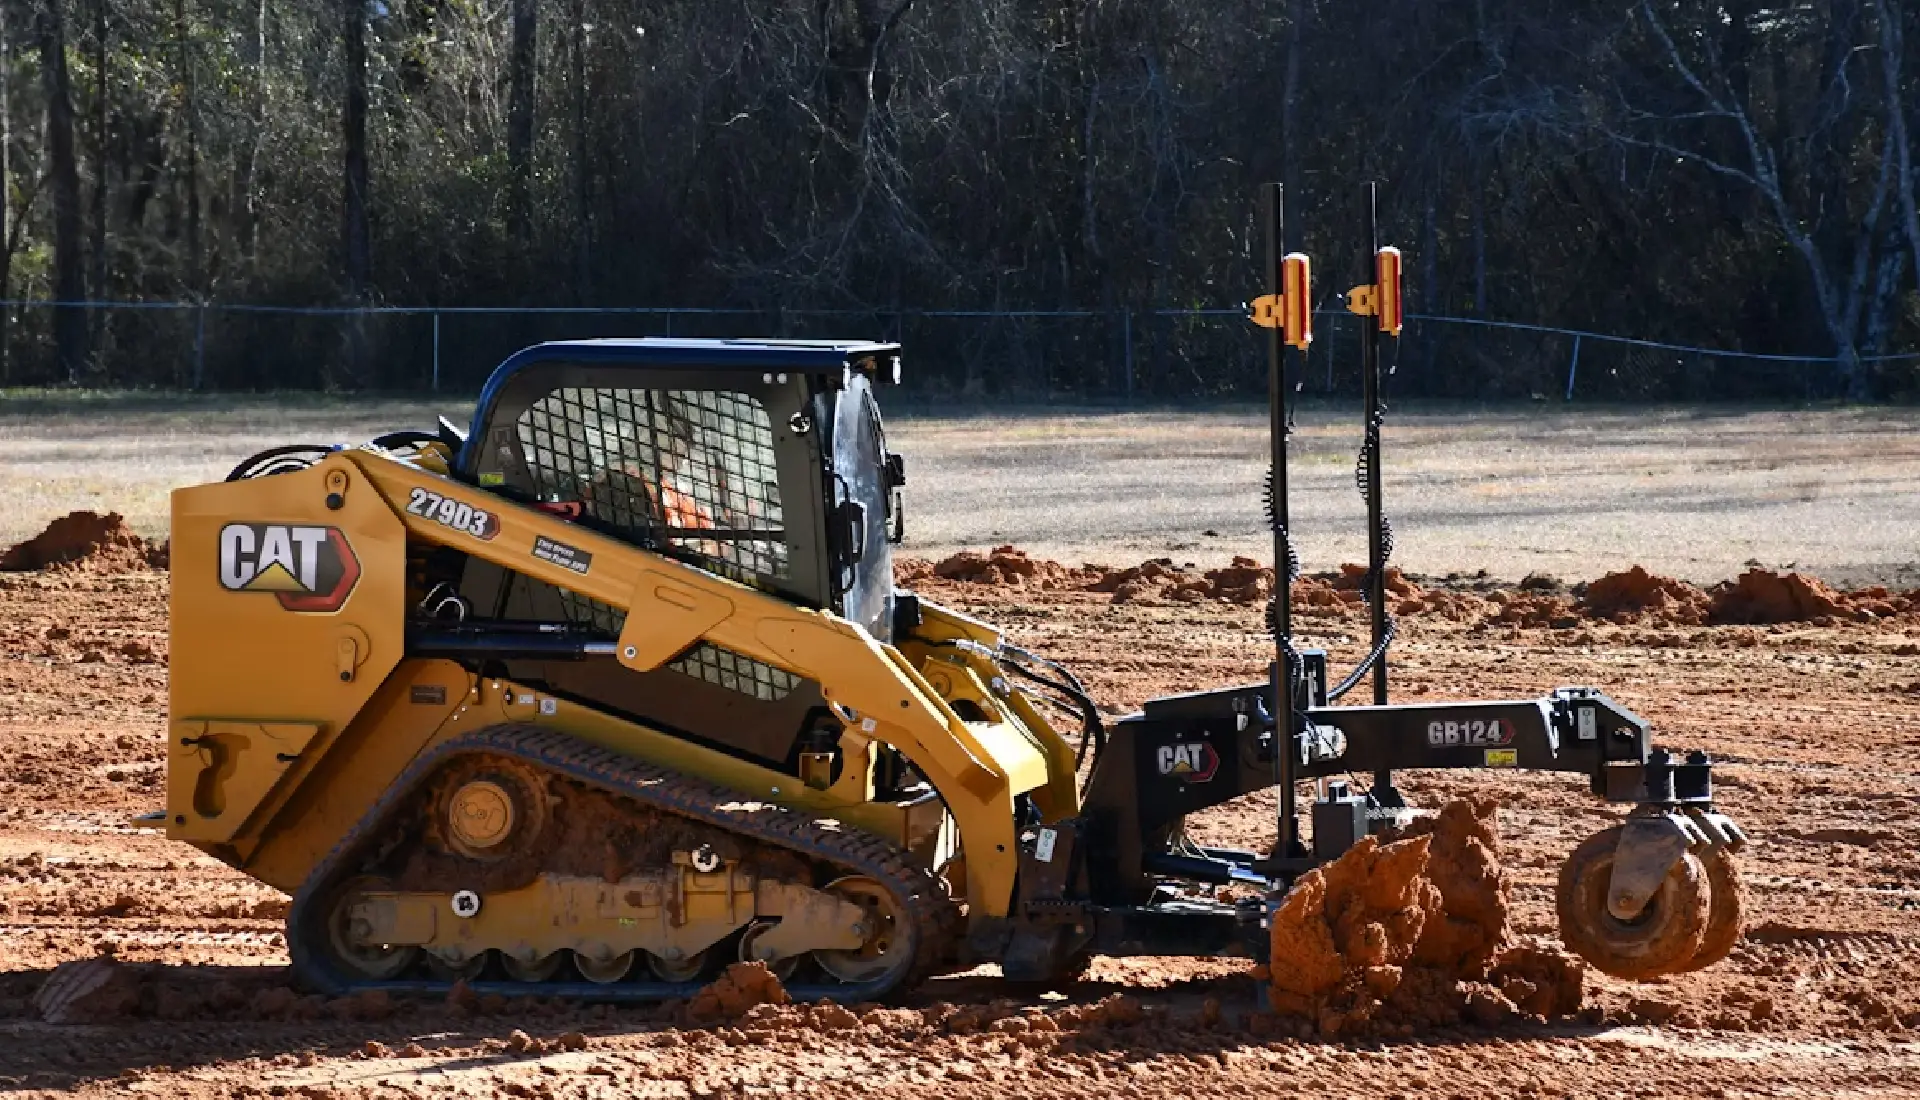
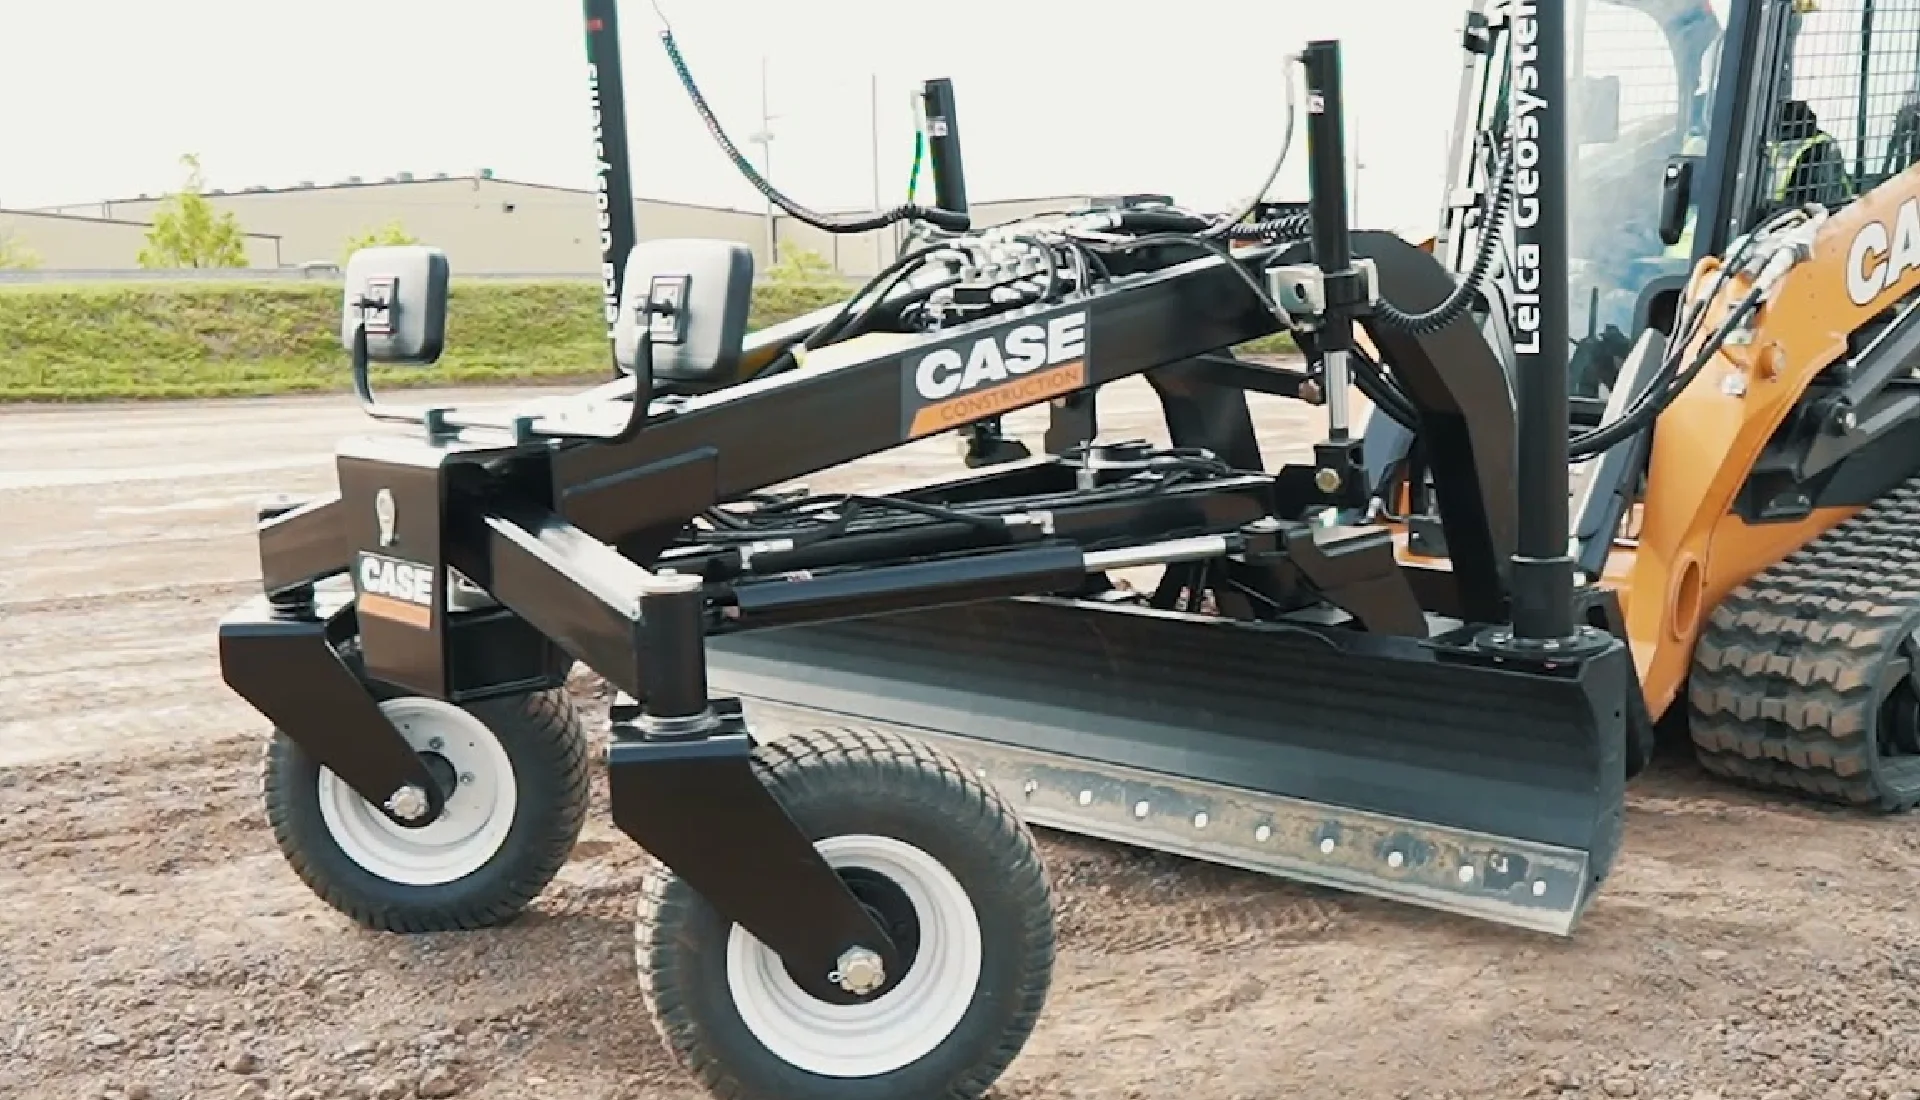
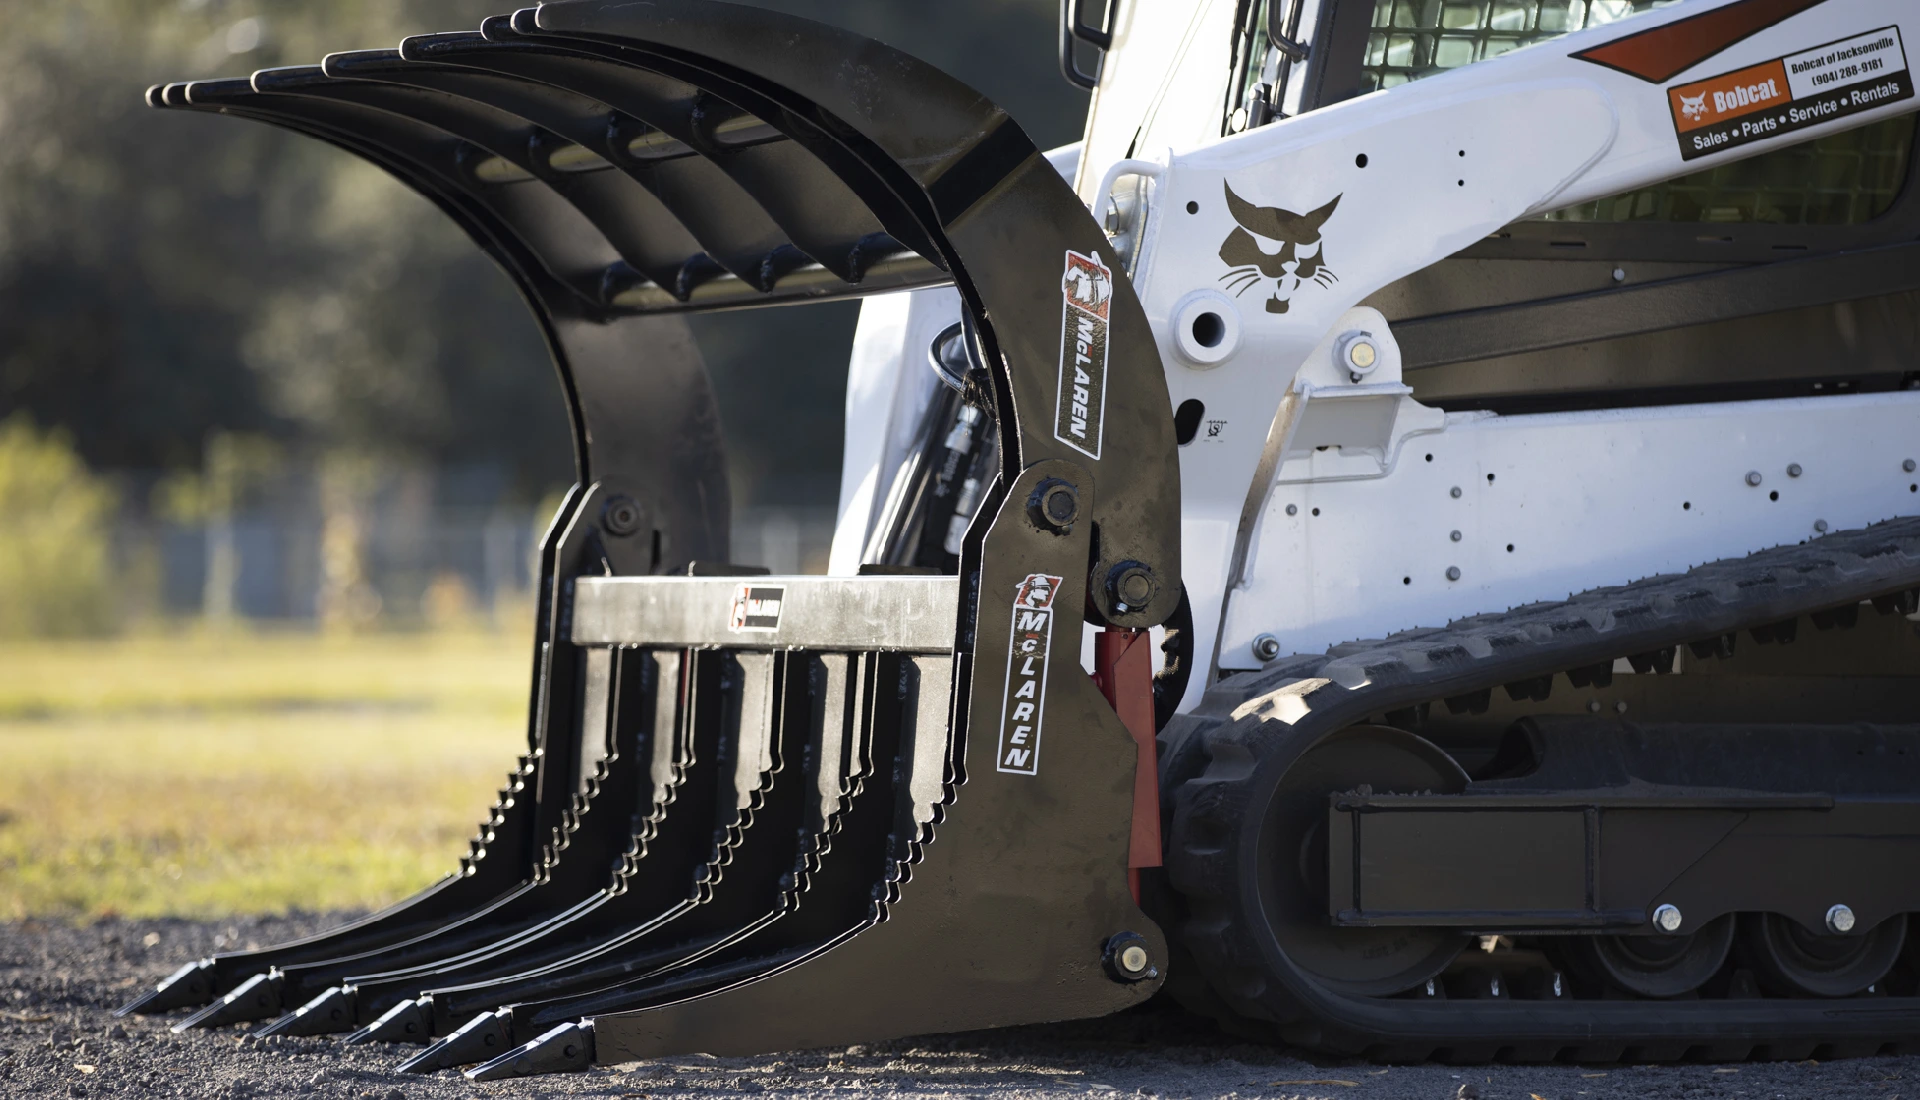
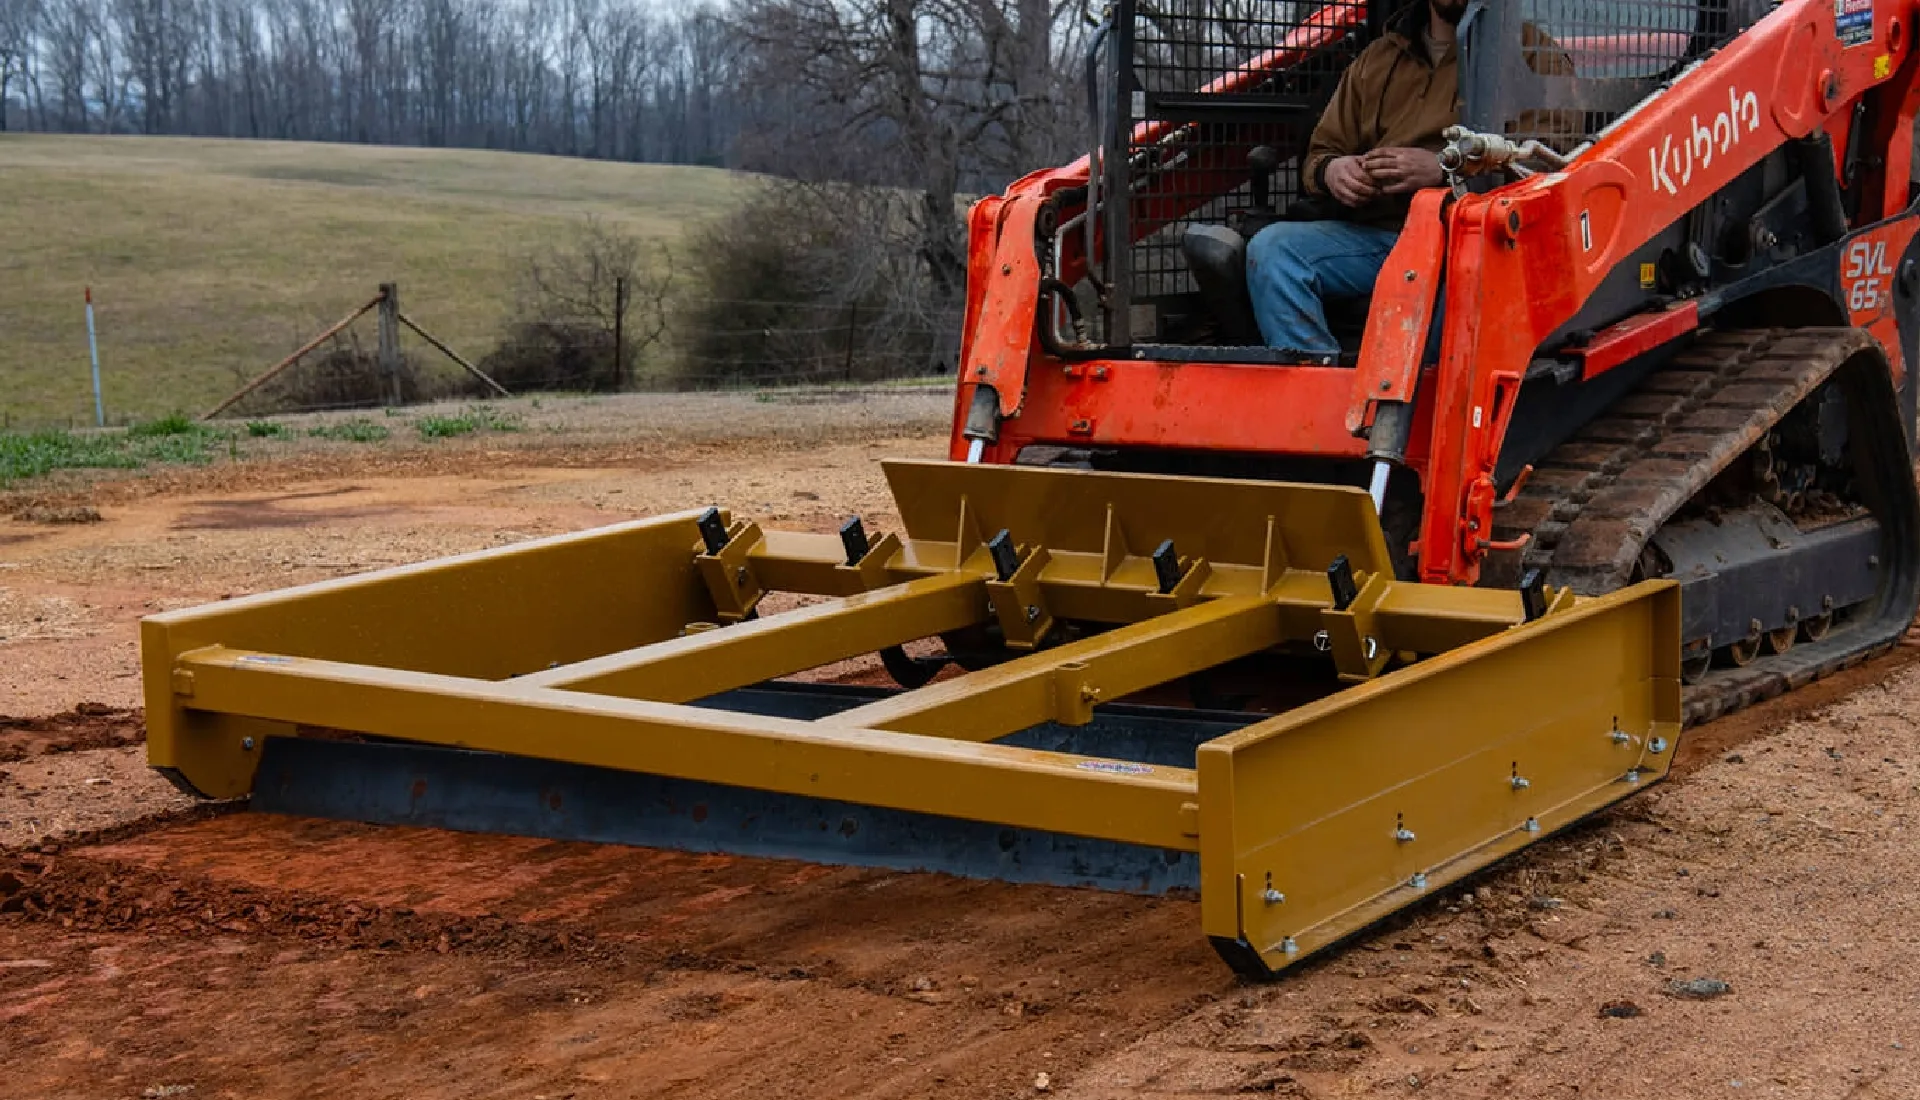
Types of Grading Attachments
Sure, you can grade with a standard bucket - and I've seen plenty of skilled operators work magic with just that. But specialized attachments can dramatically improve both efficiency and precision. It's like comparing a Swiss Army knife to a dedicated tool set; both can get the job done, but one makes life a whole lot easier.
When selecting a bucket attachment, visibility is your priority. Can you actually see the cutting edge while you're working? If not, you're basically grading by feel and prayer. Look for buckets with low-profile designs, lower sides and back, and extended bottoms for better sightlines.
Here's a breakdown of common grading attachments and when to use them:
| Attachment Type | Cost | Functionality | Suitability |
|---|---|---|---|
| Standard Bucket | $1,255 - $1,805 | Scooping, digging, and moving materials | Rough grading, moving material |
| Tooth Bucket | Varies | Digging at greater depths, breaking through hard surfaces | Rough grading, excavating |
| Smooth Bucket | Varies | Creating a smoother finish | Finish grading |
| Skeleton Bucket | Varies | Removing and separating rocks and debris | Site preparation |
| Landscape Rake | $2,345 - $2,575 | Clearing debris from soil surfaces | Site preparation, finish grading |
| Land Leveler | $3,741 - $4,158 | Aggressive grading, finishing work | Finish grading, leveling |
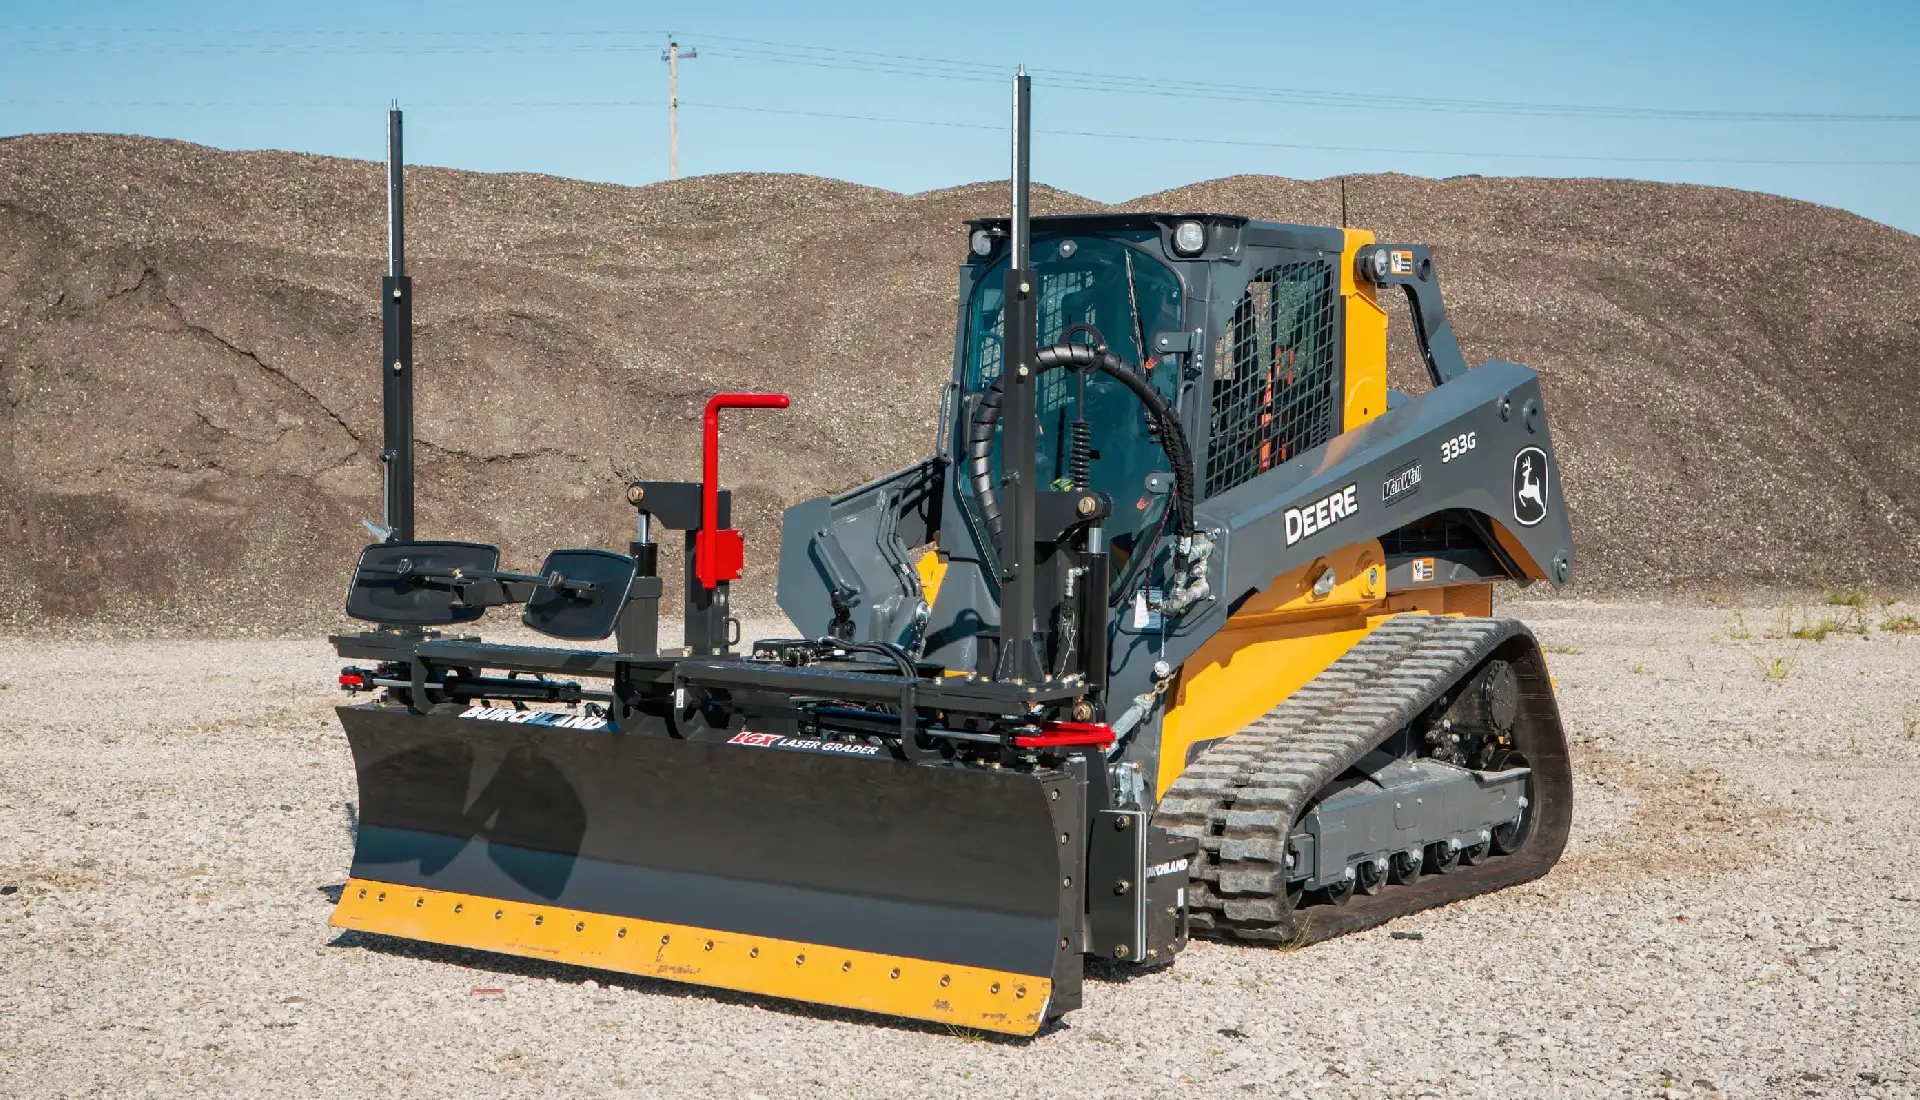
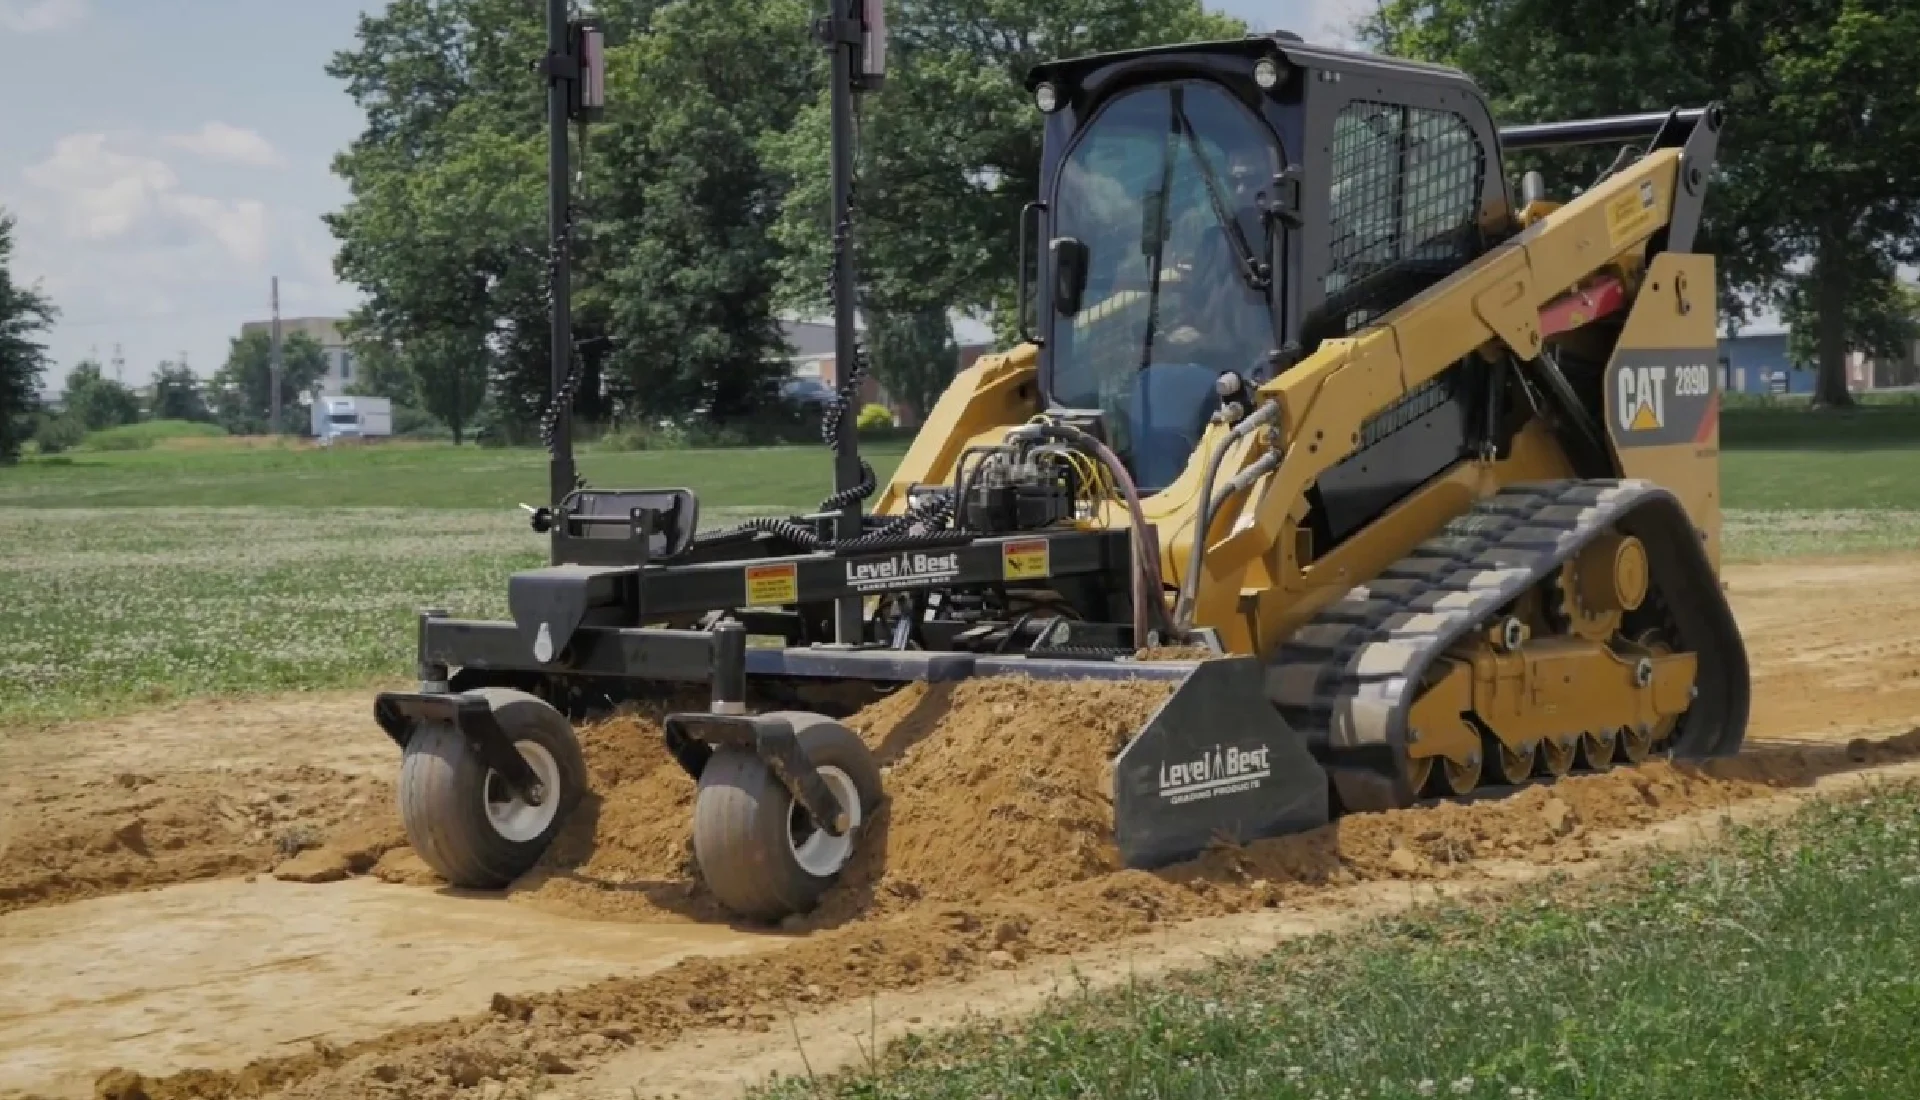
| Box Blade | $4,645 - $7,038 | Moving and leveling dirt, precise grading | Finish grading, leveling |
| Grading Blade | $11,545 - $34,595 | Precise control over blade height, angle, and position | Finish grading, sloping |
I've watched contractors spend hours fighting with the wrong attachment, only to switch and finish the job in minutes. The right attachment isn't just a convenience - it's the difference between making and losing money on a job.
Want my two cents? If you're doing regular grading work, a dedicated land leveler or box blade will pay for itself faster than you might expect.
Steps Involved in the Grading Process
Grading isn't just about pushing dirt around until it looks level. There's a method to the madness, and following these steps will save you time, fuel, and headaches:
Assess the Site and Remove Obstructions: Nothing kills productivity faster than hitting an unexpected boulder or, worse, an unmarked utility line. Clear the area of rocks, debris, and vegetation before you start. And for goodness' sake, call 811 to mark those underground utilities. Trust me, explaining to a neighborhood why they don't have internet because you severed a fiber line is not a conversation you want to have.
Pre-Grading Preparations: Set boundaries with temporary fencing to keep curious bystanders at a safe distance. If you're working on slopes, install silt fencing to prevent erosion and keep sediment where it belongs. Environmental inspectors have a knack for showing up right when you've got a muddy runoff situation.
Choose the Right Bucket Attachment: As we covered earlier, match your attachment to the specific task. Using a toothed bucket for finish grading is like trying to sign your name with a sledgehammer - technically possible, but far from ideal.
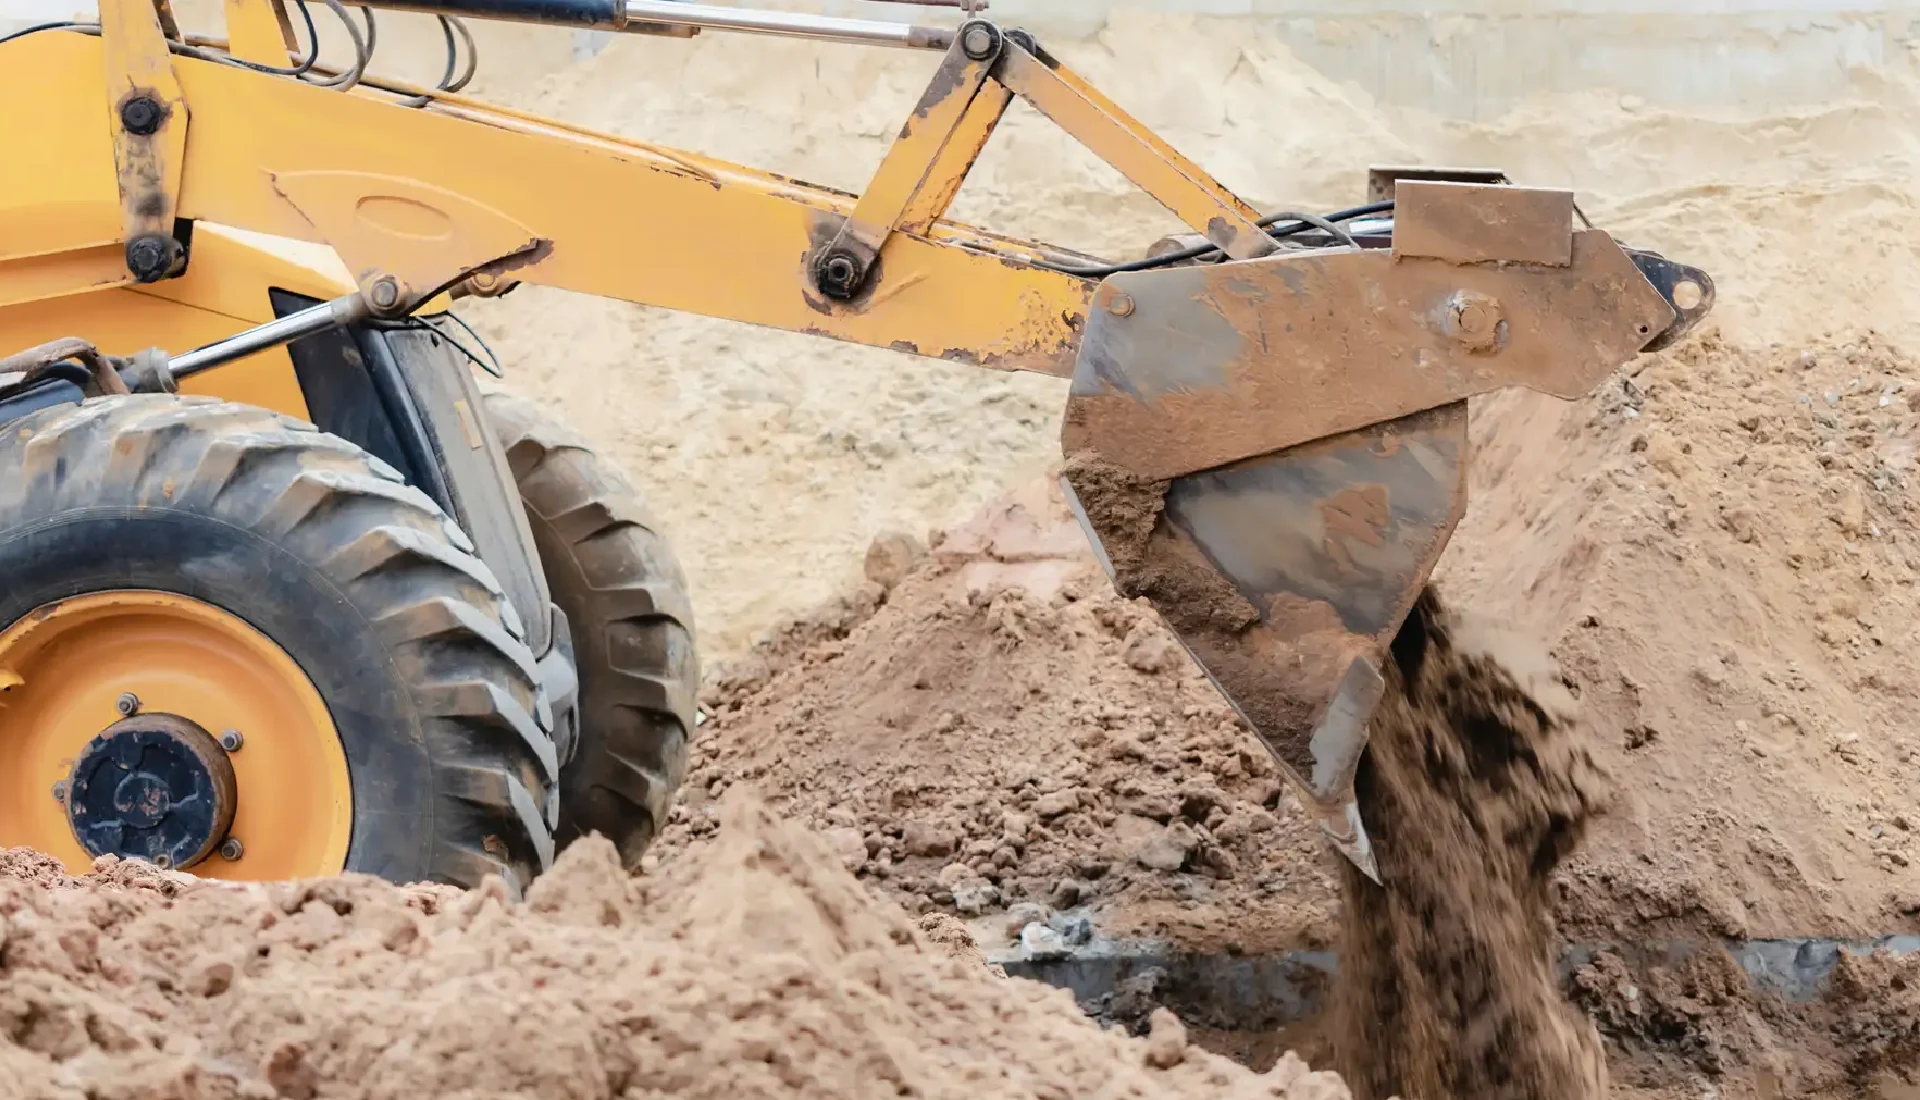
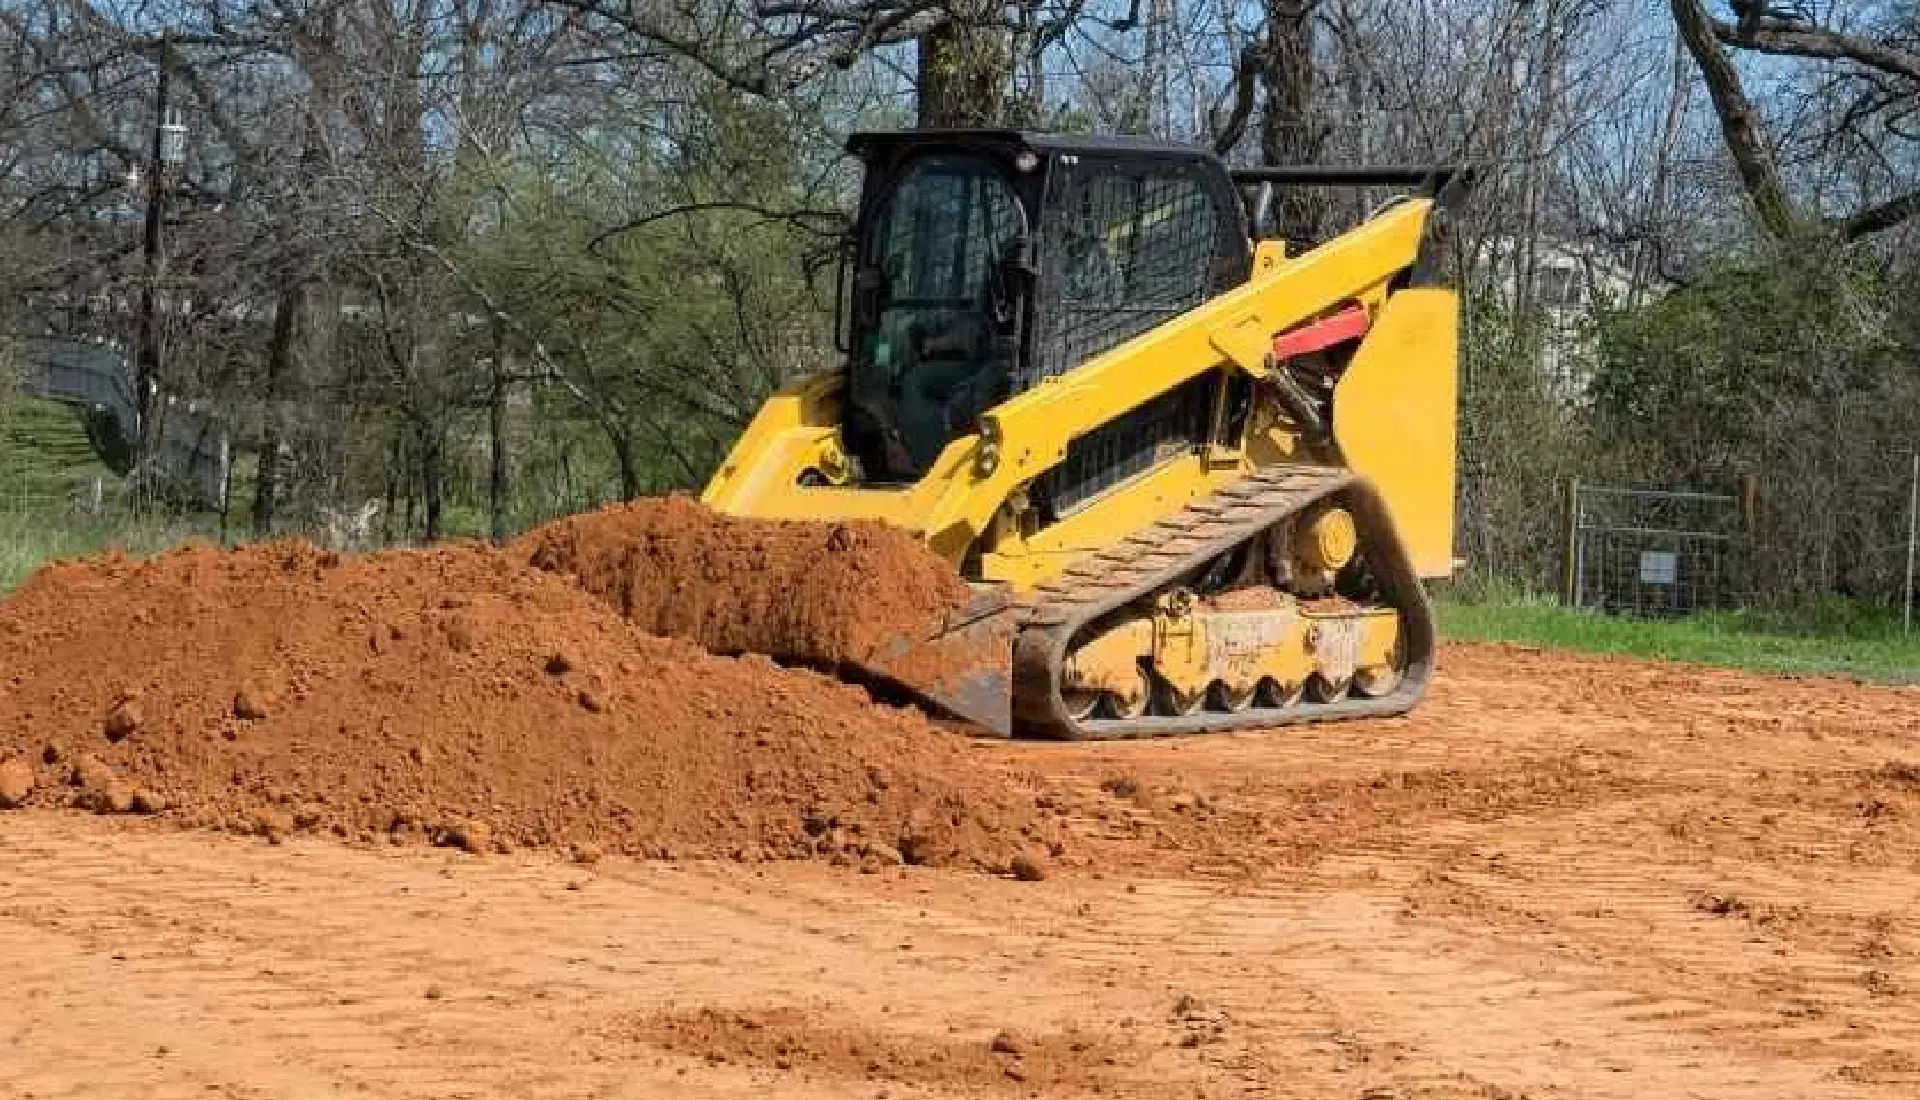
Begin Rough Grading: Start by roughly shaping the ground to the desired elevation and contour. This is where you move the bulk of your material, establishing the basic form. Don't worry about perfection yet - that comes later.
Back Drag to Flatten the Grade: Here's where the real finesse comes in. Use the back of the bucket to drag material, smoothing out the surface and filling in low spots. A good operator in back-drag mode is like an artist with a palette knife, creating a canvas of perfectly level earth.
Spray the Ground with Water and Make Final Adjustments: This old-school trick is worth its weight in gold. Water acts as a natural level, instantly showing you where the high and low spots are. Make your final passes to correct these imperfections, and you'll have a grade that would make any inspector smile.
Each step builds on the previous one, and skipping any of them usually means you'll end up doing the work twice. I've seen plenty of operators try to rush straight to finish grading, only to realize they've got major elevation issues that require starting over. Take your time - you'll actually finish faster.
Techniques for Grading with a Skid Steer
Let's be honest - the difference between amateur and professional grading isn't the machine, it's the operator. Experienced operators make it look effortless, achieving perfect grades with minimal passes and rework. Here are the key techniques that separate the pros from the rookies:
Backfilling
Backfilling is more than just pushing dirt back into a hole - it's about creating a stable, compacted result that won't settle later (and have customers calling you with complaints). This technique is essential after excavation or utility work.
For example, after installing a pipeline, you'll use your skid steer to backfill the trench with excavated soil. The secret? Compact in layers. I've seen too many operators dump all the material in at once and give it a quick pass, only to have a visible trench line appear after the first good rain.
Instead, add 6-8 inches at a time, compact thoroughly, then add the next layer. You can compact by repeatedly driving over the filled area or using a dedicated compactor attachment.
Leveling
Leveling creates that flat, even surface essential for foundations, lawns, or hardscaping. The key here is consistency - in both speed and bucket angle. Jerky movements or constantly changing your bucket position creates the telltale wavy surface that screams "amateur hour."
When leveling, start from a known flat spot if possible. This gives you a reference point and helps avoid creating a gradual slope when you intended a flat surface. I recommend moving backward during final passes, as this gives you a clear view of the work you've just done rather than what's ahead.
Sloping
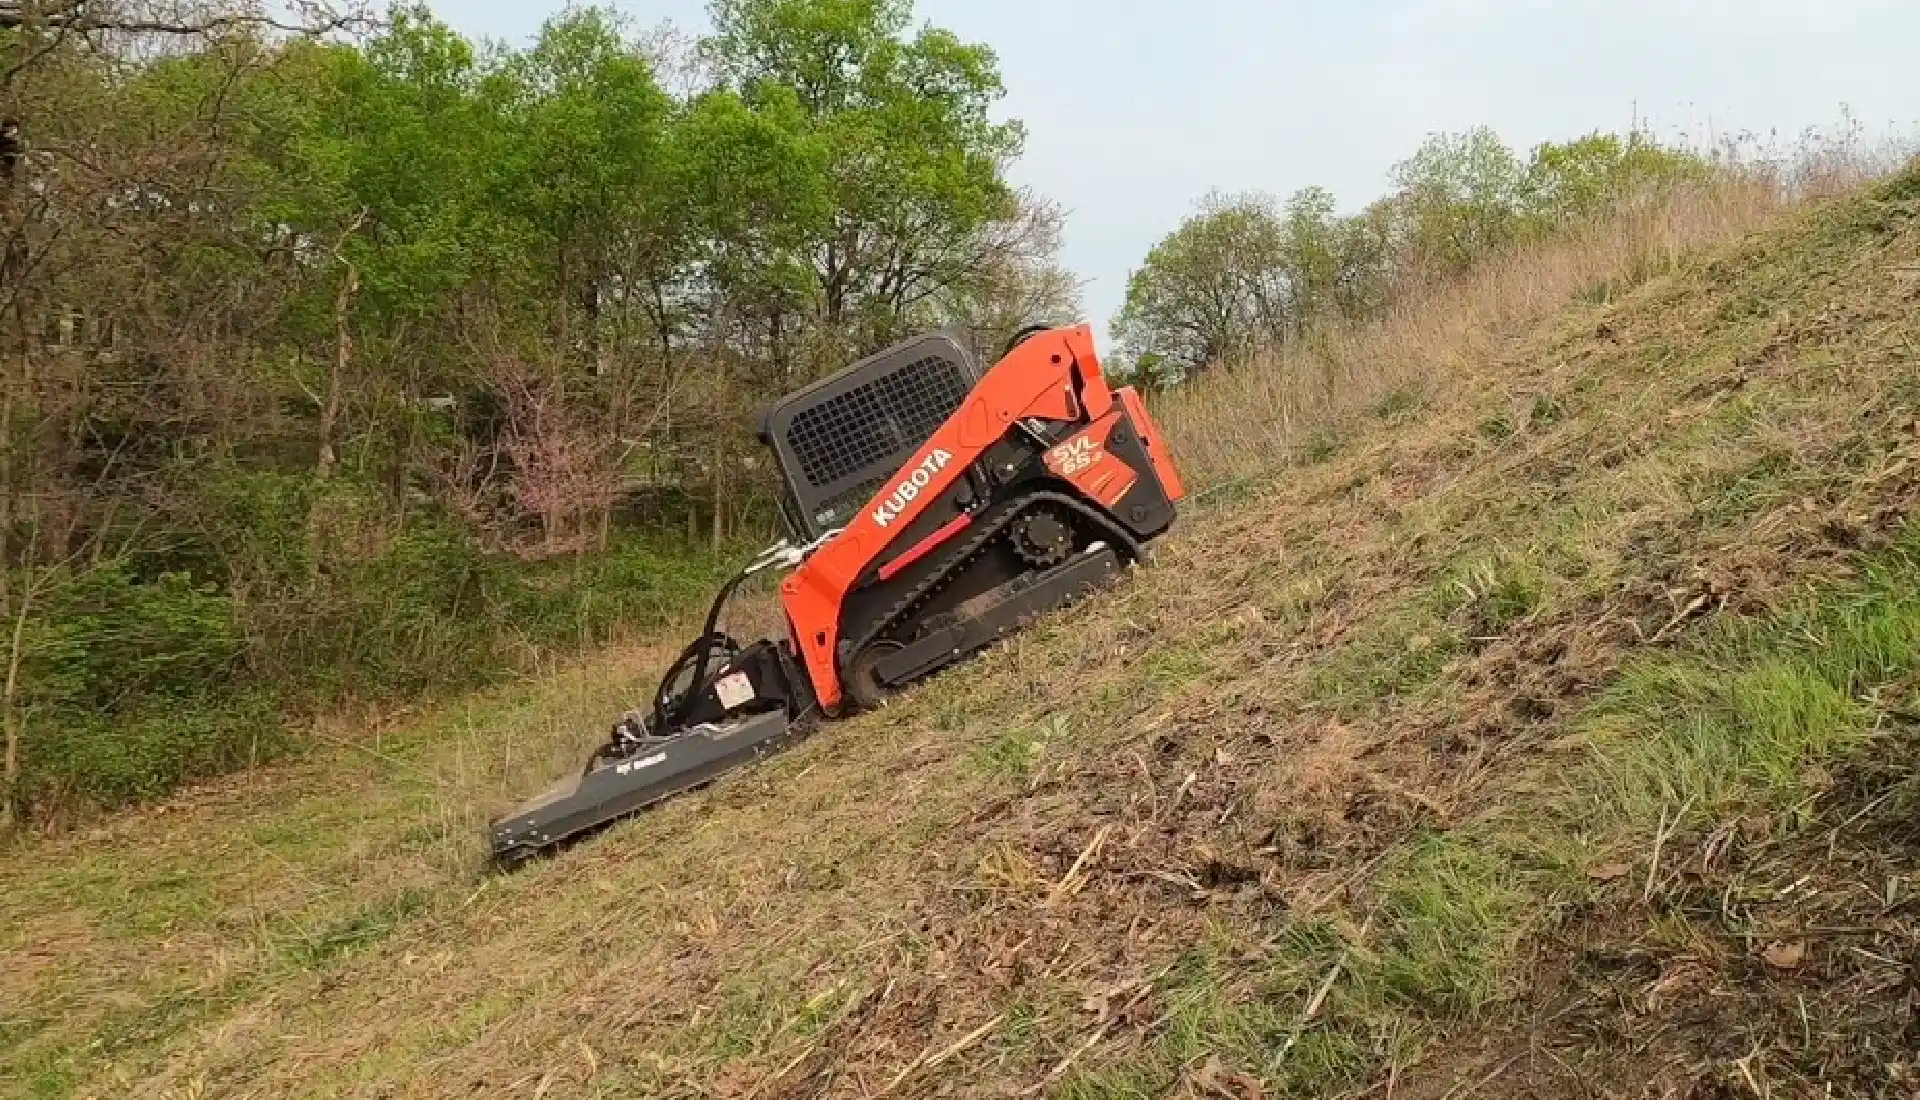
Creating intentional slopes is often necessary for drainage or specific design requirements. The challenge lies in maintaining a consistent angle throughout the slope.
For drainage purposes, you'll typically want a slope no steeper than 30 degrees (slightly more than a 2:1 ratio). Any steeper and you're asking for erosion problems. Use your bucket as a guide - hold it at the desired angle and use it to control material flow rather than just pushing or pulling.
For precise slopes, take smaller bites and make more passes; it seems slower at first but results in less rework.
Every grading job has elements of all three techniques, and moving smoothly between them separates the skilled operators from those who are just pushing dirt around and hoping for the best. Take your time, be deliberate, and remember that grading is as much art as science.
Tools and Technology for Grading
Your skid steer might be the star of the show, but supporting technologies can take your grading game to the next level. Remember when smartphones first came out and everyone thought "why would I need that?" Now we can't imagine life without them. Same principle applies to grading technology.
Laser levels and builder's transits should be standard equipment for any serious grading operation. These tools help establish precise elevations and ensure your work meets exact specifications. I've watched contractors eyeball grades for years, insisting they didn't need "fancy gadgets," only to spend hours fixing problem areas that failed inspection.
Using these precision tools reduces manual checks and rework dramatically. What used to take multiple workers with string lines and tape measures can now be done by a single operator referencing laser levels. The initial investment might sting a bit, but the time savings alone typically pays for itself within a few projects.
Even better, many of today's skid steers can be equipped with grade control systems that tie directly into laser or GPS technology. These systems provide real-time feedback to operators, showing exactly how much material to remove or add at any given point. For complex grading projects with multiple elevation changes or precise slope requirements, these systems aren't just convenient - they're game-changers.
If you're still holding out on adding these technologies to your operation, ask yourself how much an hour of your time (or your crew's time) is worth, then calculate how many hours you spend fixing grades that didn't quite hit the mark. The math usually speaks for itself.
Safety Considerations for Grading with a Skid Steer
Let's have a frank discussion about safety. Skid steers might not look as intimidating as excavators or dozers, but they account for a surprisingly high number of construction-related incidents. Why? Because their compact size and maneuverability can create a false sense of security.
Operating a skid steer for grading carries specific risks that require appropriate precautions:
| Hazard | Precaution |
|---|---|
| Falling objects | Wear a hard hat. |
| Eye injuries | Wear safety glasses. |
| Hand injuries | Wear gloves. |
| Foot injuries | Wear steel-toed boots. |
| Rollovers | Operate the skid steer at a safe speed and avoid sudden movements. |
| Crushing injuries | Keep all body parts inside the cab while operating the skid steer. |
| Striking buried utilities | Call 811 before digging to locate underground utilities. |
| Equipment malfunction | Regularly inspect and maintain the skid steer. |
I've seen experienced operators take shortcuts that made my heart skip a beat. "I'm just making a quick grade adjustment" doesn't sound like famous last words, but working outside the cab or bypassing safety features can turn routine grading into a hospital visit faster than you can say "worker's comp."
The rollover risk deserves special attention. When grading slopes, always work up and down the slope rather than across it. Keep the heavy end of the machine (typically the end with the bucket) pointed uphill. And for heaven's sake, wear your seatbelt - in a rollover situation, it keeps you inside the protective cage rather than thrown from the machine.
Before any grading project, take a few minutes to walk the site and identify potential hazards. That "small" rock might not look significant from the cab, but hit it at the wrong angle and you've got a machine tipping problem.
Remember, safety measures aren't just insurance requirements or regulatory checkboxes - they're what ensure you make it home to your family after the job is done.
Cost of Grading with a Skid Steer
When clients ask "How much will this grading job cost?" they're really asking several questions at once. Let's break down the actual dollars and cents of skid steer grading operations.
Cost of the Machine
Sticker shock is real when shopping for skid steers. New machines typically range from $15,000 for a basic small-frame model to well over $100,000 for large-frame units with all the bells and whistles. Used machines can save you some cash upfront, but remember that hydraulic systems don't age like fine wine.
Your purchase decision should factor in more than just acquisition cost. Consider the typical size of your grading projects, terrain challenges, and how often you'll actually use the machine. I've seen contractors splurge on top-of-the-line models that sit idle most days, while others try to tackle commercial projects with underpowered units that struggle to keep up.
Cost of Attachments
As we covered earlier, specialized attachments dramatically improve grading efficiency. Here's the rub - they're not cheap.
Standard buckets ($1,255-$1,805) are your entry point, but purpose-built grading attachments like land levelers ($3,741-$4,158) and box blades ($4,645-$7,038) represent significant investments. The high-end grading blades with hydraulic adjustment capabilities ($11,545-$34,595) cost as much as some skid steers themselves.
The key question isn't "Can I afford this attachment?" but rather "How many hours of labor will this attachment save me?" Generally, the more grading work you do, the easier it is to justify specialized attachments.
Cost of Labor
Operator costs typically range from $40-$180 per hour, depending on experience, location, and project complexity. An experienced operator commands higher wages but often completes grading tasks in half the time with better results. Do the math - paying $75/hour for an operator who finishes in 4 hours beats paying $40/hour for someone who takes 10 hours and needs rework.
Cost of Renting

Not ready to commit to ownership? Renting is a viable alternative. Land grading skid steers typically rent for $265-$500 per day or $795-$1,515 per week. Weekly rates offer significant savings over daily rates for longer projects. When renting, try to bundle the skid steer with the attachments you'll need - separate attachment rentals can quickly inflate your costs.
Cost Savings
Here's something worth noting: Using a skid steer for grading can actually save money compared to other methods, especially for finish grading.
Caterpillar conducted a study showing that skid steers equipped with automated box blade systems completed finish grading significantly faster and with less material waste than traditional methods. Less time, less fuel, less material - the savings add up quickly on larger projects.
The bottom line? Grading with a skid steer isn't cheap, but when done right, it's cost-effective. Calculate your total cost per yard of material moved or per square foot graded to truly understand if you're operating efficiently.
Performance Metrics of Grading with a Skid Steer
How do you know if your grading operation is performing well? It's not just about getting the job done - it's about optimizing efficiency and quality. Here are the key metrics that separate profitable operations from those just scraping by:
Amount of Material Moved per Hour: This fundamental metric indicates your machine's efficiency. A small-frame skid steer might move 5-10 cubic yards per hour in ideal conditions, while larger machines can handle 15-25 cubic yards.
Your actual performance depends on material type, operator skill, attachment choice, and site conditions. Track this metric over time to identify trends and improvement opportunities.
Accuracy of Grading Results: Precision matters, especially when preparing sites for construction or hardscaping. Measure deviation from specified grades using laser levels or transit tools.
The industry standard for finish grading typically allows ±0.1 foot variation, but some projects demand tighter tolerances. Rework costs time and money, so getting it right the first time pays dividends.
Fuel Consumption: This directly impacts your operating costs. Modern skid steers typically consume 2-4 gallons per hour, varying with engine power, machine weight, and operating conditions.
Monitoring fuel efficiency helps identify potential mechanical issues before they become major problems. Operators who constantly run at full throttle when unnecessary are literally burning your profits.
Usage Rates of Skid Steers for Grading
While specific usage statistics are hard to pin down, skid steers have become the go-to solution for small to medium grading projects across construction, landscaping, and agricultural sectors.
Note: Effectiveness ratings indicate how suitable skid steers are for different applications, with higher percentages representing better suitability. Based on industry usage patterns and operator feedback.
Their versatility and relatively low acquisition cost compared to dedicated grading equipment make them popular choices for contractors who handle diverse project types.
Historical Timeline of Grading with Skid Steers
The skid steer's journey from farm implement to grading essential tells us something about American ingenuity. In 1957, the Keller brothers invented the first skid steer to help a turkey farmer clean manure from his barn. The machine's ability to turn within its own footprint made it perfect for tight spaces.
In 1958, the Melroe brothers purchased the rights and continued developing the machine. They eventually introduced the M440 Melroe Bobcat - the first true skid steer loader and the reason many still generically call all skid steers "Bobcats" (much to the chagrin of competing manufacturers).
Since those humble beginnings, skid steers have evolved with massive improvements in hydraulic systems, engine efficiency, attachment versatility, and operator comfort. What began as a simple farm solution has transformed into a sophisticated grading tool capable of precision work that would have amazed those early inventors.
Today's models feature climate-controlled cabs, advanced hydraulics, and compatibility with laser and GPS grade control systems - a far cry from the open-air, mechanical machines of the 1950s. Yet the fundamental principles remain unchanged: compact design, impressive maneuverability, and versatility that makes them invaluable for grading applications of all kinds.
Conclusion
Effective skid steer grading comes down to choices, not chances. Select the right attachment for your specific job requirements—the $3,000+ investment in a specialized grading blade pays for itself through labor savings and precision results.
Master back-dragging and consistent speed control; these techniques determine whether you finish on schedule or call for backup. Embrace laser levels and grade control systems to eliminate guesswork, and never compromise on safety protocols.
The difference between amateur dirt-pushing and professional grading isn't the machine—it's how you use it.
FAQ
Can you do grading with a skid steer?
A skid steer can perform grading tasks using specialized attachments like box blades, grading buckets, or laser-guided systems. Its compact size and maneuverability make it suitable for small to medium projects, though precision depends on operator skill and attachment quality.
Is a skid steer a tax write-off?
A skid steer may qualify as a tax write-off under Section 179 or bonus depreciation if used for business purposes. Eligibility depends on factors like usage percentage, business structure, and local tax laws.
How much does skid steer grading cost?
Skid steer grading costs typically range from $50 to $150 per hour, depending on project size, location, and equipment type. Rental rates for skid steers average $200 to $500 daily, while hiring contractors includes labor and equipment fees.
Does OSHA require skid steer certification?
OSHA does not mandate specific skid steer certification but requires employers to ensure operators are trained in safe operation per 29 CFR 1926.602. Training must cover controls, hazards, and manufacturer guidelines.